Why Does Paint Blister? Causes, Diagnosis, and Repair
Paint blisters because the coating loses adhesion and pressure builds beneath the paint film. Moisture, trapped solvent, air, heat, salts, contamination, or incompatible layers can push the film away from drywall, wood, concrete, metal, or an earlier coat until raised bubbles form.
Key Facts at a Glance
- Moisture is the most common cause of recurring paint blistering on residential walls, ceilings, wood, and masonry.
- Fresh paint that blisters within 1-4 hours usually points to heat, direct sunlight, trapped solvent, or a hot substrate.
- Paint that blisters weeks or months later requires a moisture, salt, contamination, or substrate investigation.
- Scraping and repainting without correcting the water source usually produces another failure.
- A 15% moisture reading is not a universal pass-fail limit; the substrate, meter, coating, and manufacturer’s data sheet determine acceptable conditions.
- Localized repairs commonly take 2-3 days because washing, drying, priming, and recoating cannot safely happen at once.
What Is Paint Blistering?
Paint blistering is a localized loss of adhesion in which a paint film separates from its substrate or from an earlier coat. The raised area may contain air, water vapor, liquid water, or volatile solvent, while the surrounding paint remains attached.
Blistering differs from several nearby paint defects. A roller can leave temporary air bubbles in wet paint, but those usually flatten before the coating cures. Peeling is a larger loss of adhesion in which paint edges lift or detach. Wrinkling produces ridges caused by a soft underlayer or an overly thick coat. Solvent pop creates small pinholes or crater-like openings when solvent escapes through a dried surface skin.
The distinction matters because each defect requires a different remedy. A water blister needs source control and drying. A sun blister needs better application timing. Solvent pop needs thinner coats and adequate recoat conditions.
What Does a Blister Look Like?
Paint blistering may appear as one large dome, a cluster of small bubbles, or broad areas of lifted coating. A sharp blister usually has a visible boundary, feels hollow when tapped lightly, and may flex under gentle pressure.
Do not puncture unknown paint aggressively. Older homes may contain lead-based coatings, and cutting the film can release hazardous dust or expose damp substrate. In pre-1978 USA housing, use an EPA-recognized lead test or hire a certified lead professional before sanding or scraping.
Why Does Paint Blister?
Paint blistering occurs when pressure beneath the coating exceeds the bond between the coating and substrate. The pressure may come from expanding water vapor, heated air, evaporating solvent, osmotic moisture drawn toward soluble salts, or movement between incompatible paint layers.
Paint is a semi-permeable film rather than an airtight shell. Water vapor can move through some coatings, but liquid water entering from a leak, condensation, or porous masonry can accumulate faster than the film releases it. Sunlight then raises the substrate temperature, increasing vapor pressure and softening or stretching the coating.
Benjamin Moore’s contractor troubleshooting guidance identifies moisture and poor surface preparation among the main causes of blistering. That diagnosis matches field practice: a clean, dry, properly primed surface usually tolerates normal temperature changes, while a contaminated or wet bond fails under much less pressure.
How Does a Blister Form?
- Adhesion weakens. Dust, chalk, grease, salts, glossy residue, uncured joint compound, or missing primer creates a weak interface.
- A substance becomes trapped. Water, vapor, air, or solvent remains beneath the coating or enters through the substrate.
- Temperature or humidity changes. Heat expands gases and accelerates evaporation; cooling can condense vapor into liquid water.
- Pressure concentrates. The trapped material pushes against the paint film at the weakest location.
- The film deforms. The coating stretches into a bubble, then cracks, peels, or collapses.
What Causes Paint Blistering?
Residential paint blisters most often result from moisture, hot application conditions, poor preparation, trapped solvent, or incompatible coating layers. The visual pattern and time of failure provide useful evidence, but neither can replace checking the substrate.
| Cause | Typical onset | Common location | Confirmation clue |
|---|---|---|---|
| Plumbing or roof moisture | 2 weeks to several months | Ceiling, bathroom, exterior wall | Damp substrate, staining, active leak |
| Direct sun or hot surface | 1-4 hours | South- and west-facing exterior walls | Newest coat lifts while lower coats remain firm |
| Grease, dust, or chalk | Days to several weeks | Kitchen, siding, high-touch areas | Weak adhesion after cleaning or tape test |
| Trapped solvent or water | 1-7 days | Thick coats, cool rooms, metal | Small bubbles, pinholes, solvent odor |
| Incompatible paint layers | Days to months | Previously painted trim or walls | Large sheets lift with little resistance |
| Soluble salts in masonry or steel | Weeks to months | Concrete, block, steel, marine surfaces | White deposits, dense micro-blisters |
Can Incompatible Paint Layers Blister?
Incompatible paint layers can blister when the new coating bonds poorly or dries at a different rate from the old coating. A rigid solvent-borne coating over a flexible water-based layer may stress the weaker interface, especially when the substrate expands or contracts.
The issue is not simply “oil over latex.” Properly prepared and primed systems can work. The failure risk increases when the old surface is glossy, chalky, uncured, contaminated, or chemically unstable. A small adhesion test in an inconspicuous area is safer than assuming two coatings will bond.
Which Type of Blistering Do You Have?
The timing, location, size, and contents of a blister usually identify the likely failure mechanism. Moisture blisters tend to recur or affect multiple layers, while heat-related blisters usually appear quickly and affect the newest coat.
| Blister type | Appearance | Timing | Likely repair |
|---|---|---|---|
| Moisture blister | Large domes or lifted sheets | Weeks to months | Stop water, dry substrate, scrape, prime |
| Thermal blister | Raised newest paint layer | 1-4 hours | Remove failed coat, repaint in shade |
| Osmotic blister | Dense hard micro-bubbles | Weeks to months | Remove salts, wash, dry, use compatible primer |
| Compatibility blister | Broad sheets or flakes | Days to months | Test layers, remove weak coating, prime |
| Solvent-pop blister | Tiny bubbles or pinholes | Hours to days | Sand after cure, apply thinner coats |
How Can You Tell if Moisture Caused It?
Moisture is likely when blisters cluster near plumbing fixtures, windows, roof lines, exterior corners, shower walls, or the bottom 24 inches of a wall. Water staining, musty odor, soft drywall, swollen wood, efflorescence, and a damp meter reading strengthen the diagnosis.
Check both sides of the surface when possible. A bathroom blister may come from condensation, a failed caulk joint, or a leak inside the wall. An exterior blister may come from rain entering through siding joints, failed flashing, or water moving through porous masonry.
How Do Temperature and Solvents Cause Blisters?
Heat-related paint blistering occurs when the coating surface skins over while the underlying paint remains fluid and solvent-rich. Direct sunlight can rapidly heat siding, metal, or masonry, causing trapped air and solvent to expand before the film develops adequate strength.
Air temperature is not the same as surface temperature. Dark siding and metal can become substantially hotter than surrounding air, so the coating manufacturer’s surface-temperature limit controls application. Many architectural products specify application around 50-90°F, but the data sheet may impose narrower limits for humidity, dew point, or substrate temperature.
Avoid painting a sunlit wall that feels hot to the hand. Work on the shaded side, follow the sun around the building, and stop if rain, condensation, or a rapid temperature drop threatens the curing film.
How Much Moisture Is Too Much?
There is no universal 15% moisture limit for every painted surface. Wood, drywall, plaster, concrete, and masonry use different measurement methods, and a meter’s reading also depends on calibration, depth, temperature, salts, and the coating manufacturer’s requirements.
A typical residential starting point is below about 15% for many wood-painting situations, but that figure is not a blanket rule for plaster or concrete. Drywall meters often show relative or comparative readings rather than a direct moisture percentage. Concrete coatings may require a specific relative-humidity test, calcium chloride test, or slab moisture limit.
| Substrate | Practical check | Typical decision point | Important limitation |
|---|---|---|---|
| Painted wood | Pin moisture meter | Often below 15% | Species and meter calibration affect results |
| Drywall | Comparative meter scan | No rising or abnormal reading | Readings are often relative, not true percentage |
| Concrete slab | RH probe or coating test | Follow product data sheet | Surface reading alone may miss slab vapor |
| Plaster or masonry | Meter plus visual inspection | Dry, stable, salt-free surface | Salts can distort meter readings |
Measure several locations, including a dry reference area. If the blistered zone reads higher, keeps increasing, or feels soft, repair the water source before preparing the paint.
How Do You Repair Blistered Paint?
Repair blistered paint by correcting the cause, removing unsound coating, drying the substrate, preparing the surface, priming exposed material, and applying compatible finish coats. A small repair typically takes 2-3 days, although water-damaged drywall, masonry, and exterior wood may require longer drying.
What You Need Before Starting
| Item | Typical quantity | Typical USA cost | Use |
|---|---|---|---|
| Paint scraper | 1, 2-3 inches | $8-$18 | Remove loose coating |
| Sandpaper | 5-10 sheets, 80 and 120 grit | $6-$12 | Feather edges |
| Cleaner | 1 quart to 1 gallon | $5-$15 | Remove grease and residue |
| Bonding or stain-blocking primer | 1 quart for spot work | $15-$35 | Seal exposed substrate |
| Matching finish paint | 1 quart | $20-$45 | Restore the topcoat |
| Moisture meter | 1 unit, optional rental | $25-$80 | Compare substrate readings |
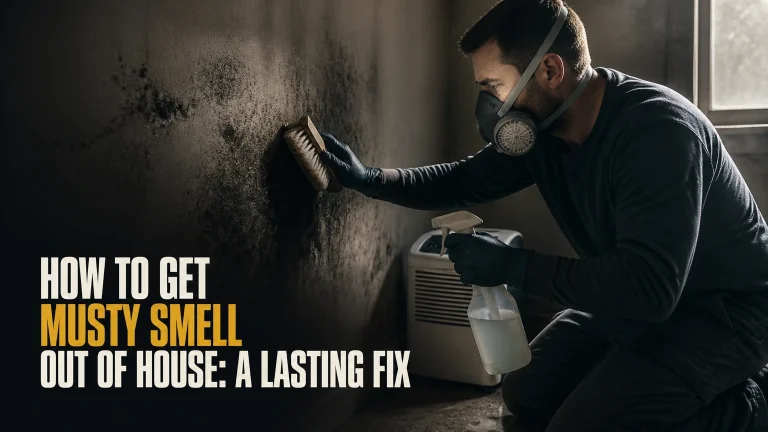
Use eye protection, gloves, ventilation, and a properly rated respirator when dust or old coatings are involved. Do not dry wet walls with high heat that can drive vapor deeper into wood or damage drywall paper.
Step 1: Find and Stop the Cause
Inspect plumbing, roof penetrations, flashing, window joints, gutters, bathroom ventilation, condensation, and exterior cracks. Repair the source before scraping, because a dry-looking surface can still hold moisture behind the paint.
Checkpoint: the leak is repaired, the area no longer feels damp, and moisture readings are stable across repeated checks.
Common mistake: treating a ceiling stain with stain-blocking primer while the roof or plumbing leak remains active.
Step 2: Remove Loose Paint
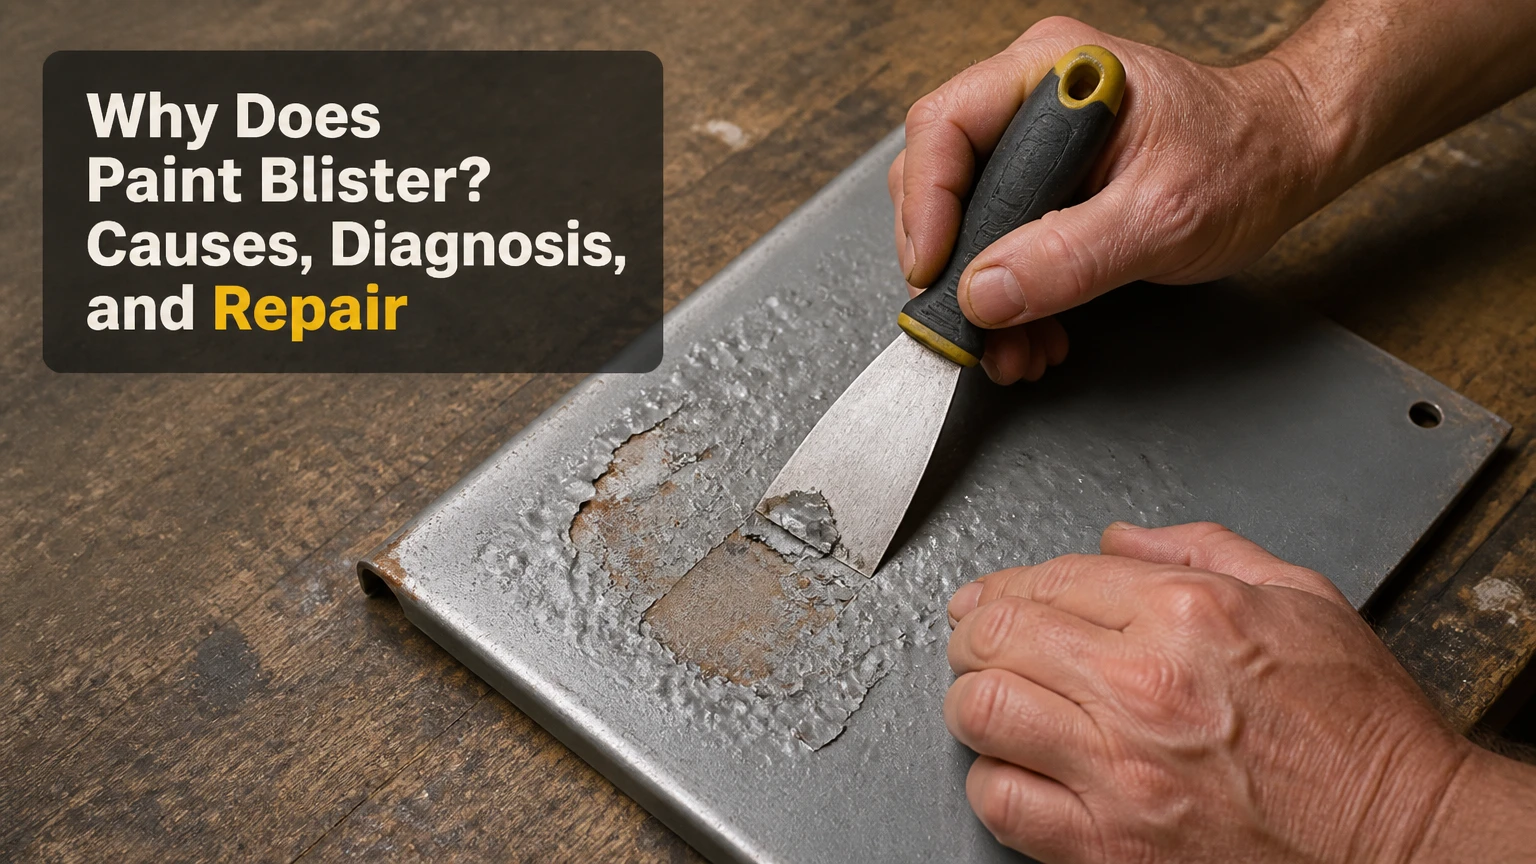
Scrape every blistered, hollow, cracked, or weak section until the remaining coating is firmly bonded. Extend the repair beyond the visible bubble if a gentle scraper or painter’s tape lifts the surrounding film.
Checkpoint: firmly attached paint remains when pressed and lightly tested.
Common mistake: stopping at the blister’s edge and leaving a hidden loose ring beneath the apparently sound paint.
Step 3: Wash and Dry the Surface
Clean exposed and adjacent areas with a suitable detergent solution, then rinse when the substrate allows it. Remove chalk, grease, soot, salts, sanding dust, and mildew according to the coating manufacturer’s instructions.
Allow the area to dry fully. Drying may take 24-48 hours indoors and longer in cool, humid, shaded, or water-damaged locations.
Checkpoint: the surface is clean, dull, dry, and free of white salt residue.
Common mistake: sealing detergent, salt, or moisture under primer.
Step 4: Feather the Edges
Sand the boundary between exposed substrate and intact paint with 80-120 grit paper. Finish with a finer abrasive where appearance matters, then remove dust without wetting the surface again.
Checkpoint: the transition feels gradual under your fingertips and does not show a sharp ridge under side lighting.
Common mistake: sanding only the center of the repair, which leaves a visible edge after repainting.
Step 5: Prime the Exposed Substrate
Choose primer for the substrate and problem. Use a bonding primer for difficult intact coatings, a stain-blocking primer for water marks, and a masonry-compatible primer where salts or alkalinity are involved.
Do not rely on primer to make wet drywall, loose wood fibers, or contaminated masonry sound.
Checkpoint: the primer forms a continuous film without fish-eyes, pinholes, or lifting.
Common mistake: applying primer over a glossy surface without cleaning and dulling it.
Step 6: Repaint Under Stable Conditions
Apply two thin, compatible finish coats rather than one heavy coat. Follow the product’s temperature, humidity, recoat, and cure instructions, and keep bathrooms ventilated while the film hardens.
Checkpoint: the finish dries evenly, remains firmly attached after curing, and matches the surrounding sheen.
Common mistake: recoating as soon as the surface feels dry while solvent or water remains trapped below.
Can You Paint Over Blistered Paint?
You should not paint over active blisters or loose paint. A new coat hides the defect temporarily but adds weight and moisture, leaving the weak bond and original pressure source in place.
A thin, stable texture or minor surface imperfection may be filled after the coating is confirmed sound. Actual bubbles must be opened, scraped, or removed, then the substrate must be cleaned, dried, feathered, and primed.
What Changes for Different Surfaces?
| Surface | Main risk | Preparation priority | Primer choice |
|---|---|---|---|
| Drywall | Soft gypsum and torn paper | Replace damaged sections | Drywall or stain-blocking primer |
| Interior plaster | Hidden dampness and salts | Check wall moisture and cracks | Compatible masonry or acrylic primer |
| Exterior wood | Rain entry and swollen fibers | Repair joints and allow drying | Exterior wood or bonding primer |
| Concrete or block | Vapor and efflorescence | Remove salts and test alkalinity | Masonry-compatible primer |
| Metal | Corrosion and condensation | Remove rust and stabilize surface | Corrosion-control metal primer |
How Can You Prevent Bathroom Blisters?
Prevent bathroom paint blistering by controlling liquid water, condensation, and curing conditions. Use an exhaust fan that vents outdoors, run it during bathing and for about 20-30 minutes afterward, repair failed caulk, and keep the painted surface dry while the coating cures.
A bathroom coating does not make a wet wall waterproof. Seal shower joints, maintain grout, repair plumbing, and use a moisture-resistant interior acrylic formulated for high-humidity rooms. Wait at least the product’s stated cure period before exposing new paint to repeated hot showers; 24-48 hours is a common practical interval, not a universal guarantee.
When Are Salts and Osmosis the Cause?
Osmotic blistering is most relevant when soluble salts beneath a coating attract water through the film, creating localized pressure. The defect is common in marine, industrial, steel, and damp masonry environments, but ordinary household wall bubbling is more often caused by leaks or condensation.
Industrial coatings may require soluble-salt testing with a Bresle patch and project-specific limits. A commonly specified threshold can be below 10 mg/m² for some systems, but the coating specification controls because salt tolerance varies by primer, immersion exposure, and preparation standard.
ISO 4628-2 and ASTM D714 provide recognized language and rating approaches for coating blistering. Those standards help document severity; they do not identify the water source by themselves.
How Much Does Repair Cost?
Typical USA DIY spot repairs cost $30-$70, while professional localized wall work often costs $250-$800 per wall. Extensive stripping, substrate replacement, leak repair, or whole-room remediation can raise the project to $1,500-$4,500 or more.
| Repair scope | Typical USA price | Typical duration | Cost driver |
|---|---|---|---|
| Small interior spot | $30-$70 DIY | 2-3 days | Drying and matching paint |
| Professional single wall | $250-$800 | 2-4 days | Scraping and primer work |
| Exterior siding section | $500-$1,500 | 2-5 days | Access and wood repair |
| Full room remediation | $1,500-$4,500+ | 4-10 days | Multiple failed layers |
| Leak plus repainting | Variable, often $500-$3,000+ | 3 days to several weeks | Plumbing, roof, or structural work |
Painting prices vary by region, access, labor rates, lead-safe requirements, and whether damaged drywall or wood must be replaced. A quote that includes only scraping and painting is incomplete when the moisture source remains unknown.
What Makes Blistering Return?
Recurring blisters usually indicate unresolved moisture, inadequate drying, contaminated substrate, or a coating system that cannot tolerate the exposure. Repeated repainting narrows the visible defect while increasing the number of weak interfaces beneath it.
Three practitioner rules prevent most repeat failures:
- Map the defect before repairing it. Blisters concentrated around a window or fixture suggest a source; evenly distributed bubbles after hot application suggest a process problem.
- Test the surrounding paint, not only the bubble. A small cross-hatch or tape adhesion test can reveal widespread failure that visual inspection misses.
- Treat drying time as a measured condition. Calendar time alone is unreliable in humid rooms, shaded exteriors, thick wood, and masonry.
When Is Blistering a Serious Problem?
Paint blistering deserves professional assessment when the substrate is soft, moldy, structurally damaged, repeatedly wet, or covered by potentially lead-based paint. Large ceiling blisters, electrical fixtures near water, active leaks, and exterior wood decay also exceed a simple cosmetic repair.
A contractor should investigate when the affected area exceeds roughly 10-20 square feet, when several rooms show the same defect, or when blisters return after a correct-looking repair. A moisture diagnostic, leak inspection, and coating adhesion test can prevent a larger repainting expense.
The Bottom Line
Why does paint blister? Paint blisters when moisture, heat, solvent, air, salts, or incompatible layers overcome adhesion and push the film away from its surface. Diagnose the timing and pattern, correct the underlying condition, remove every loose layer, dry the substrate, prime the exposed material, and repaint only within the product’s specified conditions.
A small, dry, isolated blister is usually repairable. Recurring or widespread blistering is evidence of a substrate or building problem, not a paint-color problem.
FAQ
Will a dehumidifier remove paint blisters?
A dehumidifier can reduce room humidity and help a damp surface dry, but it cannot restore adhesion after the paint film has separated. Use it after stopping the leak and with reasonable ventilation; scrape and repair the failed coating only when the substrate reaches stable, dry conditions.
Why does ceiling paint blister around a light fixture?
Ceiling paint near a light fixture may blister from a roof or plumbing leak, condensation on a cold ceiling, or warm humid air collecting at the ceiling. Turn off power before inspecting nearby areas, and involve an electrician if water has entered the fixture or electrical box.
Does primer stop paint from bubbling?
Primer can improve adhesion and seal a properly prepared surface, but primer cannot stop bubbling caused by active water, wet wood, vapor transmission, or unstable old paint. Select the primer after diagnosing the substrate, then follow its drying and recoat requirements.
Can old paint blister years after application?
Old paint can blister years later when a new leak, rising humidity, substrate movement, salt migration, or exterior weathering changes the conditions beneath the film. The age of the coating does not prove that the original application was defective.
Should blistered drywall be replaced?
Blistered drywall should be replaced when the gypsum is soft, swollen, mold-contaminated, delaminated, or deeply damaged after drying. Firm drywall with intact paper can often be scraped, sealed with suitable primer, skimmed, and repainted after the moisture source is corrected.
How long should paint dry before a second coat?
The second coat should wait for the manufacturer’s stated recoat time, commonly 2-4 hours for water-based interior paint under favorable conditions. Cool temperatures, high humidity, poor ventilation, thick coats, and dark colors can extend that interval substantially.