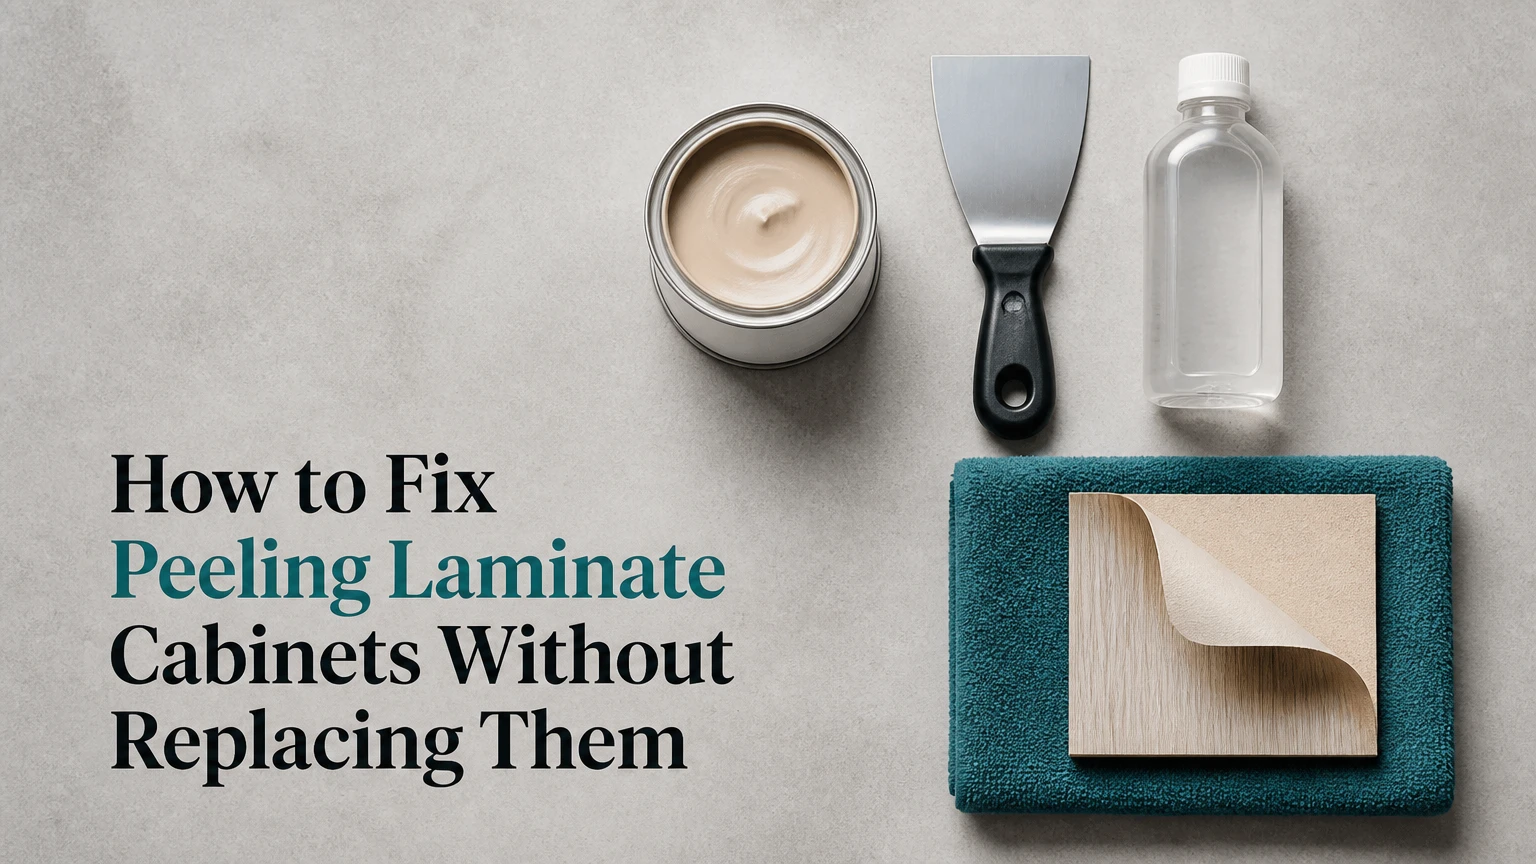
How to Fix Peeling Laminate Cabinets Without Replacing Them
To fix peeling laminate cabinets, remove loose adhesive, flatten and dry the substrate, apply compatible contact cement, and press the laminate firmly with a protected caul. A small repair usually takes 30-60 minutes plus curing time. Replacement or refacing is necessary when the MDF or particleboard is swollen, crumbling, cracked, or extensively delaminated.
Key Facts
Intact laminate over a flat, dry cabinet door is usually repairable with contact cement.
Swollen MDF or particleboard must be flattened and sealed before adhesive is applied.
Contact cement goes on both bonding surfaces, while water-based PVA wood glue normally goes on one absorbent surface.
Never use super glue or hot glue for a large laminate repair because both create brittle or heat-sensitive bonds.
A typical USA DIY spot repair costs $10-$35 per door and takes 30-60 minutes of hands-on work.
Peeling beside an oven, dishwasher, or sink will recur unless the heat or moisture source is corrected.
How to Fix Peeling Laminate Cabinets: Start With Diagnosis
The correct repair depends on three conditions: the laminate’s condition, the substrate’s condition, and the source of the failure. A loose but intact sheet over dry MDF can be rebonded, while swollen board or cracked laminate requires surface rebuilding, painting, refacing, or replacement.
“Laminate” describes a surface finish, not one single cabinet material. Kitchen doors may use high-pressure plastic laminate, melamine, rigid thermofoil, or a thin wood veneer. Thermofoil is a vinyl film formed over MDF, and its peeling pattern often appears as a broad bubble or edge separation. Wood veneer has a real wood grain and needs veneer-specific repair methods.
What should you inspect before removing the door?
Open the peeling area only as far as necessary and check the exposed core with a bright light. A dry, hard, flat core supports spot repair; dark staining, softness, swelling, crumbling fibers, or a permanently distorted sheet indicates a deeper failure.
Use a straightedge across the damaged area. A gap of approximately 1/16 inch or less may be corrected with cleaning and pressure. A larger ridge usually needs sanding or filler, and a door that no longer closes squarely is a replacement candidate.
| Inspection result | Likely cause | Suitable action | Typical outcome |
|---|---|---|---|
| 1-2 inch edge lift, flat core | Adhesive failure | Re-glue with contact cement | 1-5 years if moisture is controlled |
| 3-8 inch bubble, hard core | Incomplete factory bond | Open, clean, and rebond | Usually invisible from normal viewing distance |
| Soft MDF, 1/8 inch swelling | Water absorption | Cut back, fill, seal, then assess | Cosmetic repair may remain visible |
| Cracked or missing film | Mechanical or heat damage | Paint, reface, or replace door | Re-gluing alone will not work |
| Whole door peeling at several edges | Widespread delamination | Replace doors or reface | More consistent than repeated spot repairs |
Why do laminate cabinets peel?
Laminate cabinets peel when the bond between the decorative surface and the MDF, particleboard, or plywood core loses strength. Heat softens or ages some adhesives, moisture swells porous board, and repeated impacts allow air and water to enter the opening.
The most common locations reveal the cause. A door beside a dishwasher often receives repeated steam; a door below a sink may have a slow plumbing leak; a cabinet beside an oven may receive radiant heat; and a frequently handled drawer edge may fail from abrasion and fingernail pressure. Degreasing chemicals can also weaken exposed edges when residue remains under a loose film.
Which Adhesive Works Best on Laminate Cabinets?
For a clean, dry, nonporous laminate-to-core repair, solvent-based or water-based contact cement is usually the most dependable choice. Contact cement requires adhesive on both surfaces and bonds when the coated surfaces become tacky, while ordinary PVA wood glue is less reliable against a sealed plastic back and can introduce moisture into MDF.
Choose a product labeled for plastic laminate, countertop laminate, or high-pressure laminate. Follow the manufacturer’s ventilation, flash-time, temperature, and cleanup directions because formulations differ. Do not assume that a product marketed as “wood glue” is suitable for a sealed laminate back.
| Adhesive | Apply to | Typical working method | Best use |
|---|---|---|---|
| Contact cement | Core and laminate back | Flash 10-20 minutes, then press once | Flat, intact laminate |
| Water-based contact cement | Core and laminate back | Longer drying, strong rolling pressure | Lower-solvent indoor work |
| PVA wood glue | Usually absorbent core | Clamp 12-24 hours | Veneer or exposed porous wood |
| Polyurethane adhesive | Dampened compatible surfaces | Clamp per label, often 2-4 hours | Selected repair situations |
| Cyanoacrylate super glue | Tiny rigid joints only | Instant spot bond | Not suitable for broad laminate |
| Hot-melt glue | Temporary positioning | Cools rapidly, softens with heat | Not suitable for permanent cabinet repair |
Contact cement is a poor choice when the core is uneven because the adhesive does not fill large voids. It also has limited repositioning after contact, so dry-fitting and using alignment strips matter more than applying a thick coat.
Can you use wood glue on peeling laminate?
Wood glue can work when the exposed surface is porous wood or veneer and the joint closes tightly under sustained pressure. Standard PVA is not the first choice for a sealed plastic laminate back because the plastic does not absorb it, and residual moisture can swell particleboard or MDF.
For a small veneer edge, PVA may be practical. For plastic laminate or thermofoil, use a compatible contact adhesive unless the product manufacturer specifies another bonding system.
Before You Start: Time, Cost, and Materials
A typical one-door spot repair requires 30-60 minutes of active work, 2-4 hours of protected set time for many contact cements, and a total project window of about one day. The difficulty is moderate because preparation and alignment determine the result more than strength does.
Materials and quantities for one door:
- 1 can or tube of laminate-rated contact cement
- 1 disposable brush or plastic spreader
- 1 roll of painter’s tape
- 1 sheet of wax paper or polyethylene release film
- 2 flat scrap-wood cauls, each longer than the repair
- 2-4 padded spring clamps
- 120-grit and 220-grit abrasive paper
- Clean rags and a vacuum
- Nitrile gloves, eye protection, and suitable ventilation
- Optional: solvent recommended on the adhesive label
Use wax paper only where the adhesive manufacturer permits it. Some solvents and adhesives can attack plastic film, so a polyethylene sheet or the product’s stated release material may be safer.
| Project size | DIY supplies | Active time | Typical USA material cost |
|---|---|---|---|
| One small edge | Adhesive, tape, 2 clamps | 30-45 minutes | $10-$25 |
| One large door | Adhesive, cauls, 4 clamps | 45-90 minutes | $20-$45 |
| Four doors | Shared clamps and abrasives | 3-5 hours | $35-$85 |
| Full kitchen spot repairs | Multiple adhesive containers | 1-2 days | $75-$200 |
Step-by-Step Spot Repair
Step 1: Remove and label the cabinet door
Unscrew the hinge plates from the cabinet box or remove the hinge arms according to the hinge design. Mark each hinge position with painter’s tape and label the door’s location, because identical doors can have slightly different hinge adjustments.
Lay the door flat on a protected work surface. Remove handles if they obstruct the caul or clamps.
Success checkpoint: The door lies stable, the peeling section is accessible, and hinges cannot scratch the finish.
Common mistake: Repairing a vertical door makes adhesive control and pressure distribution much harder.
Step 2: Open the peel and remove failed adhesive
Lift the laminate gently by hand. Do not bend it sharply, because a crease can become a permanent crack. Scrape loose glue from the core and laminate back with a plastic scraper or a sharp chisel held nearly flat.
Use 120-grit abrasive paper only on the exposed core and hardened adhesive. Use 220-grit paper on a wood or veneer back when light keying is necessary. Avoid sanding through a thin decorative film.
Vacuum the dust. Wipe both surfaces with the cleaner specified by the adhesive manufacturer, then allow them to dry completely.
Success checkpoint: Both surfaces feel dry and clean, with no loose fibers, grease, powder, or glossy lumps.
Common mistake: Flooding MDF with acetone, alcohol, or water can dissolve finishes or swell the core. Test the cleaner on an unseen area first.
Step 3: Flatten and stabilize the cabinet core
Press a straightedge against the exposed substrate. Remove raised, soft fibers with a sharp chisel, then fill shallow missing areas with a compatible two-part filler or repair compound. Sand the cured filler flush with 120-grit paper, followed by 220-grit paper.
Seal exposed porous MDF or particleboard with a thin coat of shellac-based primer or another adhesive-compatible sealer. Let the sealer cure according to its label and sand lightly if the surface becomes rough.
Do not rebuild a water-damaged core indefinitely. If the board crumbles under light pressure or the door has swollen more than about 1/8 inch, replacing the door is usually more reliable.
Success checkpoint: The laminate can lie flat without rocking, and the core does not shed fibers when rubbed.
Common mistake: Applying adhesive over swollen board traps the defect permanently and creates a visible hump.
Step 4: Dry-fit the laminate and create alignment stops
Lower the laminate into position without adhesive. Confirm that the original edges meet and that the sheet has not shrunk. Place two or three narrow wooden strips across the core as temporary spacers if the laminate must slide into a precise location.
Painter’s tape can hold the hinge-side edge as a temporary hinge while the opposite edge is positioned. Remove or reposition the tape if it interferes with contact cement.
Success checkpoint: The laminate returns to its original position without force, stretching, or a visible gap.
Common mistake: Starting the bond before dry-fitting leaves no practical opportunity to correct misalignment.
Step 5: Apply contact cement evenly
Brush or spread a thin, continuous coat over the exposed core and the matching laminate back. Do not leave dry islands, thick puddles, or uncoated corners. Keep adhesive away from the visible face and hardware holes.
Wait for the label’s flash period, often 10-20 minutes, until the surfaces feel tacky rather than wet. A clean gloved fingertip should not pull liquid adhesive from the surface.
| Adhesive condition | Correct response | Reason |
|---|---|---|
| Wet and glossy | Continue waiting | Premature contact weakens the bond |
| Uniformly tacky | Join surfaces | Correct contact-cement stage |
| Dry and dusty | Recoat if label permits | Surface may have exceeded open time |
| Thick ridges | Spread or remove | Ridges create visible pressure lines |
| Contaminated by dust | Clean and reapply | Debris prevents continuous contact |
Success checkpoint: The adhesive film is continuous, tacky, and free of visible contamination.
Common mistake: A thick coat does not create a stronger bond. It increases solvent release, squeeze-out, and surface irregularity.
Step 6: Bond from one edge and roll the surface
Use the alignment stops or taped hinge edge to bring the laminate down progressively. Press from the bonded edge toward the open edge, using a laminate roller or a clean rubber roller.
Work outward to remove trapped air. Apply firm, overlapping passes across the entire repair, especially along the perimeter where peeling usually begins.
Success checkpoint: No bubbles remain, the edges align, and the laminate does not spring upward when pressure is released.
Common mistake: Dropping the entire sheet at once can trap air and create a permanent offset.
Step 7: Clamp through protected cauls
Cover the repair with the approved release sheet. Place flat scrap-wood cauls above and below the area, then position padded clamps every 4-6 inches. Tighten until pressure is firm and even, not until the door bows.
Cauls distribute pressure and prevent clamp jaws from denting the laminate. Place a thin pad beneath the lower caul when the door’s opposite face has a delicate finish.
Success checkpoint: The laminate remains fully seated when a clamp is briefly loosened.
Common mistake: Clamping directly onto the decorative surface can leave dents, gloss changes, or cracks.
Step 8: Cure, clean, and reinstall
Keep the door flat and undisturbed for the adhesive label’s full cure period. Many contact cements develop handling strength quickly but benefit from several hours of uninterrupted pressure; a 24-hour wait is a conservative choice before heavy use.
Remove squeeze-out only with the labeled cleaner. Do not scrape cured adhesive with a metal blade against the finish. Reinstall the door, check the reveal around all four sides, and adjust hinges so the door does not rub.
Success checkpoint: The edge stays closed after the clamps are removed and the door opens without flexing the repaired area.
Common mistake: Reinstalling immediately can pull the bond apart before the adhesive reaches its stated strength.
What If the MDF Is Swollen or Crumbling?
Swollen MDF or particleboard cannot provide a flat, stable bonding surface, so gluing laminate directly over it produces a lumpy repair that often fails again. Minor swelling can be cut back, filled, sanded, and sealed, but crumbling board usually justifies a replacement door or new skin.
Find and correct the leak before repairing. Dry the cabinet for at least 24-48 hours after the moisture source stops, using airflow rather than intense heat. A moisture meter can help, but the practical test is whether the board feels hard and remains dimensionally stable after drying.
| Core condition | Repair method | Material choice | Decision |
|---|---|---|---|
| Flat and hard | Clean and rebond | Contact cement | Proceed |
| Slightly rough, no swelling | Sand and seal | Shellac primer | Proceed after curing |
| 1/16 inch raised fibers | Cut, fill, sand | Two-part filler | Repairable |
| 1/8 inch or more swelling | Replace damaged section or door | New MDF or replacement door | Usually replace |
| Crumbling under finger pressure | No adhesive repair | Replacement door or cabinet box | Replace |
A filler patch is a cosmetic foundation, not structural restoration. It cannot restore screw-holding strength, swollen dimensions, or a crushed hinge-cup area.
What If the Laminate Is Cracked, Missing, or Thermofoil?
Cracked or missing laminate cannot be restored by re-gluing because the original sheet no longer forms a continuous protective surface. Remove loose material, smooth the transition, seal the exposed core, and choose paint, a new laminate skin, a replacement door, or cabinet refacing.
Thermofoil doors deserve special caution. A broad vinyl film that has separated from MDF often indicates heat-related manufacturing or adhesive failure, and patching one corner may leave the remaining film ready to peel. Replacement thermofoil doors can be economical when the cabinet boxes remain square and dry.
| Damage pattern | Best alternative | Typical USA cost per door | Typical project time |
|---|---|---|---|
| 1-3 inch missing patch | Prime and paint | $15-$40 DIY | 1-2 days |
| One cracked door face | Replacement door | $50-$250 | 1-4 weeks ordered |
| Several thermofoil doors | Replace door fronts | $500-$2,500 kitchen | 1-3 weeks |
| Widespread door and edge failure | Professional refacing | $4,000-$12,000 kitchen | 2-5 days |
| Damaged boxes and doors | Cabinet replacement | $8,000-$25,000+ kitchen | 1-3 weeks |
Painting requires more preparation than many homeowners expect. Degrease the surface, degloss without cutting through the film, use a bonding primer rated for laminate or vinyl, sand between compatible coats, and allow the coating to cure before reinstalling hardware.
Paint is a finish, not a repair for a swollen core. It also cannot recreate a factory edge band or correct a door that has warped.
Should You Repair, Reface, or Replace?
Repair the existing laminate when damage is localized and the core is flat. Reface when many doors have failed but the cabinet boxes, layout, and hinges remain sound. Replace cabinets when water damage affects the boxes, the layout no longer works, or repeated repairs cost more than a durable new installation.
| Option | Typical USA cost | Hands-on or installation time | Expected suitability | Main limitation |
|---|---|---|---|---|
| DIY spot repair | $10-$35 per door | 30-60 minutes plus cure | Small intact peel | Color and edge wear remain |
| DIY paint conversion | $75-$300 kitchen | 2-4 days | Missing or dated laminate | Surface preparation is extensive |
| Replacement doors | $50-$250 per door | 1-4 weeks ordering | Failed thermofoil fronts | Existing boxes must be sound |
| Professional refacing | $4,000-$12,000 kitchen | 2-5 days | Broad surface failure | Layout usually stays unchanged |
| Full replacement | $8,000-$25,000+ kitchen | 1-3 weeks | Swollen boxes or remodeling | Highest disruption and cost |
These are typical USA planning ranges, not fixed bids. Door count, material, finish, hardware, regional labor rates, countertop removal, and cabinet accessibility can change the final price substantially.
When is refacing better than replacing?
Refacing is better than replacing when the cabinet boxes are dry, square, firmly attached, and functionally suitable, while the doors and exposed surfaces are worn or delaminated. Refacing preserves the existing layout and can reduce demolition, but it cannot correct poor storage design, damaged interiors, or weak box construction.
Replacement makes more sense when sink-base panels are swollen, hinge screws no longer hold, cabinet boxes are out of square, or the kitchen needs new dimensions. Spending on attractive doors over failing boxes postpones the same structural problem.
How Do You Stop the Laminate From Peeling Again?
Prevent recurrence by controlling moisture, reducing heat exposure, and protecting vulnerable edges. Repair the plumbing leak, use the dishwasher’s vapor barrier or side shield, keep oven heat within the appliance manufacturer’s design, and wipe spills instead of allowing water to sit on joints.
Inspect the repaired door after one week and again after one month. Look for a hairline edge lift, soft substrate, new bubbling, or hinge-side movement. Early intervention is cheaper than allowing moisture to enter behind the entire sheet.
What helps cabinets beside an oven or dishwasher?
Install an appliance heat shield or manufacturer-approved insulation strip where the cabinet design allows it, and confirm that the dishwasher vent does not discharge directly toward the door edge. Maintain the clearances specified by the appliance manufacturer rather than improvising with flammable materials.
Do not cover ventilation openings or attach foil insulation against a hot appliance without checking the installation instructions. Excessive heat can damage adhesive, laminate, paint, and adjacent cabinet hardware.
Common Mistakes and How to Fix Them
Using super glue or hot glue
Cyanoacrylate cures rigid and brittle, while hot-melt glue softens under kitchen heat. Remove as much failed adhesive as possible, flatten the surface, and use a laminate-rated adhesive instead.
Skipping the dry-fit
Contact cement has limited repositioning after the surfaces touch. Rehearse the movement with clean, dry parts and install alignment strips before coating the surfaces.
Sanding the visible laminate
Aggressive sanding can expose the print layer, alter sheen, or create a pale patch. Sand the substrate and adhesive residue, not the decorative face.
Using water to clean exposed MDF
Water raises MDF fibers and can enlarge the damaged area. Use minimal cleaner, follow the adhesive label, and allow complete drying before bonding.
Applying uneven clamp pressure
Pressure concentrated at one point creates a shiny dent or leaves gaps nearby. Use cauls that extend beyond the repair and space clamps approximately 4-6 inches apart.
Repairing the symptom beside a leak
A rebonded edge will fail again if a sink trap, dishwasher hose, or oven heat problem remains. Correct the environmental cause before spending time on cosmetic work.
Variations for Renters and Small Repairs
A renter can use painter’s tape to hold a clean, intact edge temporarily, but double-sided mounting tape is only a short-term cosmetic measure. Tape may leave residue, fail under steam, and conceal moisture damage, so it should not substitute for a permanent repair where the landlord permits maintenance.
For a drawer edge less than 2 inches long, a small amount of laminate-rated contact cement and hand pressure may be sufficient. For a door face larger than approximately 12 inches, use cauls and multiple clamps because hand pressure rarely remains uniform long enough.
Can peeling laminate cabinets be repaired without removing the doors?
Small vertical repairs can be attempted without door removal, but removing the door gives better alignment, ventilation, cleaning, and clamping control. Door removal is especially important when the peeling area is near hinges, handles, or a lower edge exposed to moisture.
The Bottom Line
Fix peeling laminate cabinets with contact cement when the laminate is intact and the MDF or particleboard core is flat, dry, and hard. Flatten and seal minor substrate damage before bonding, but replace the door or reface the kitchen when the film is cracked, the board is swollen, or several edges have failed. How to fix peeling laminate cabinets successfully depends less on applying more glue than on diagnosing the core and stopping the heat or moisture that caused the failure.
FAQ
How long will a re-glued laminate cabinet door last?
A properly prepared spot repair can last several years in a dry, moderate-temperature location, but no fixed lifespan applies to every cabinet. Typical durability is shorter beside an oven, sink, or dishwasher if heat and moisture remain uncontrolled. The original laminate condition and the quality of surface preparation matter more than adhesive thickness.
Can I repair laminate cabinets with construction adhesive?
Construction adhesive is not automatically suitable for cabinet laminate. Many formulas remain too thick, require moisture or porous surfaces, or cure with enough movement to create a visible ridge. Use a product whose label specifically lists plastic laminate, melamine, thermofoil, or the exact materials being joined.
Is laminate the same as melamine?
Laminate and melamine are related but not identical terms. High-pressure laminate is a layered decorative sheet bonded to a substrate, while melamine commonly describes a resin-impregnated paper surface fused to manufactured board. Repair requirements vary because melamine is often thinner and more tightly integrated with its core.
Should I replace only the peeling cabinet doors?
Replacing only the doors is sensible when the cabinet boxes are square, dry, and structurally sound. Matching doors can refresh a kitchen at lower cost than full replacement, but check hinge type, overlay measurement, thickness, drilling pattern, and the visible finish on adjacent fixed panels before ordering.
Can peeling laminate cabinets be repaired with paint alone?
Paint can cover missing or damaged laminate after thorough cleaning, bonding primer, sanding, and edge preparation. Paint will not stabilize swollen MDF, restore a missing corner, or prevent moisture from entering an open edge. Treat painting as a finish conversion after the substrate is sound, not as a structural adhesive repair.
When should a professional repair laminate cabinets?
Hire a cabinet professional when water damage affects multiple boxes, the countertop must be removed, the laminate contains asbestos-era materials of uncertain composition, or a large sheet must be cut and bonded accurately. Professional help is also appropriate when the cabinet layout, hinge drilling, or replacement finish requires exact matching.