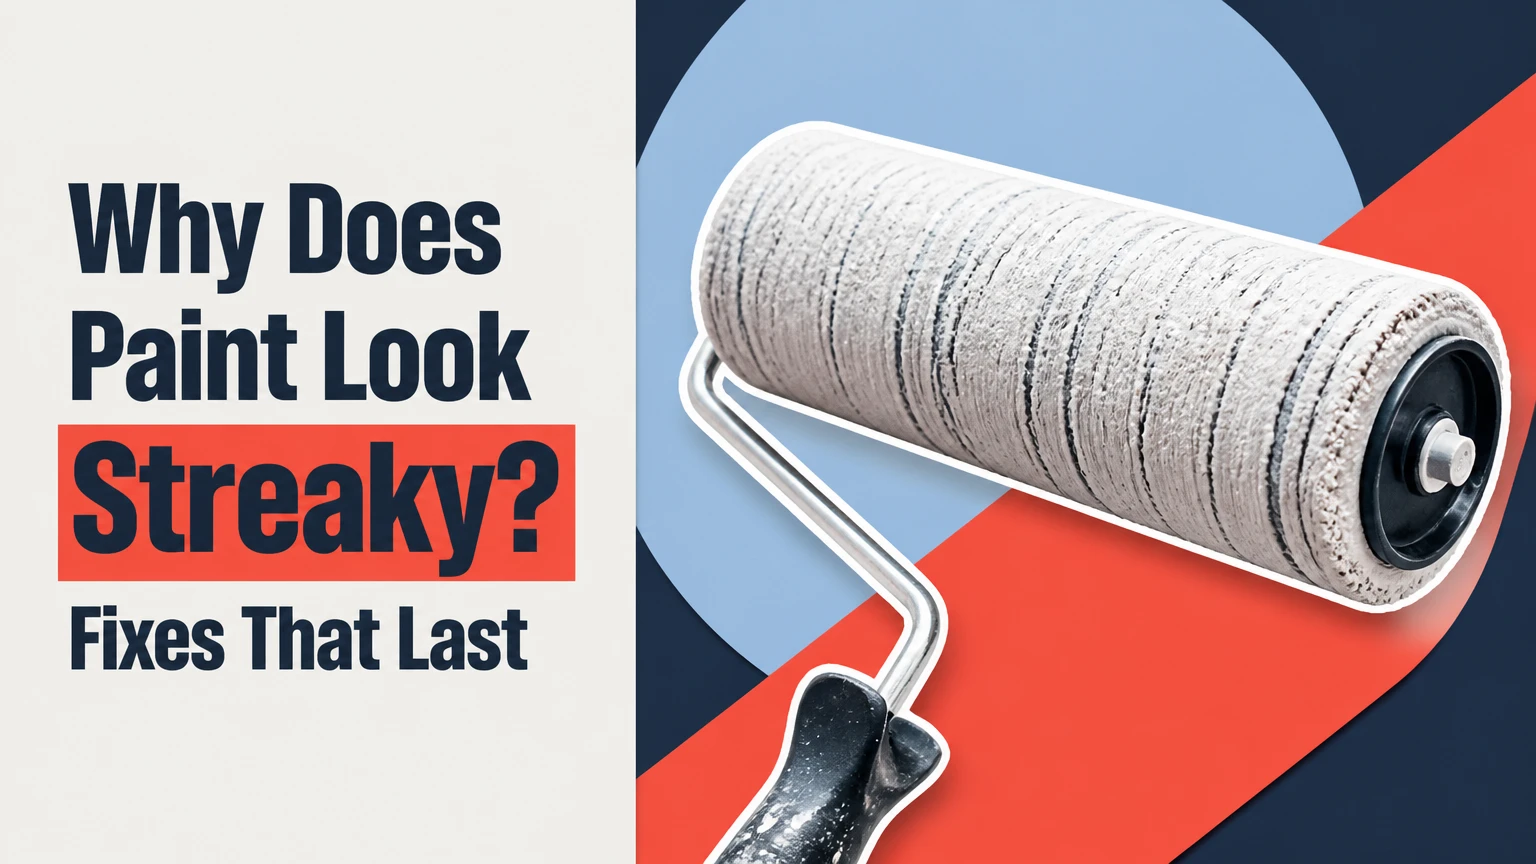
Why Does Paint Look Streaky? Fixes That Last
Paint looks streaky when the finished paint film has uneven thickness, texture, color coverage, or sheen. The most common causes are losing the wet edge, pressing a roller too hard, painting an absorbent surface without primer, using the wrong roller nap, or recoating before the first layer has set.
Key Facts at a Glance
- Lap marks form when fresh paint overlaps an edge that has already begun drying.
- Roller streaks usually combine uneven film thickness with raised roller texture.
- Primer reduces patchiness by limiting how quickly drywall, joint compound, and wood absorb water.
- Satin, semi-gloss, and high-gloss finishes reveal surface and application defects more strongly than flat paint.
- A dry streak normally requires leveling, dust removal, and repainting the entire visual section rather than a tiny spot.
- Typical interior latex paint needs 2-4 hours before recoating, although temperature, humidity, airflow, and product chemistry change that interval.
What Streaky Paint Means
Streaky paint is a visible variation in the wall’s color, gloss, or texture after application. Painters commonly call the defect roller tracking, lap marks, flashing, picture framing, or poor leveling, but those terms describe different patterns rather than one single failure.
A straight band that follows a roller edge is usually a roller track. A dull or shiny patch around a repaired area is flashing, which often comes from different porosity or surface texture. A darker border around the perimeter of a wall is picture framing, caused when brushed edges dry before the central field is rolled.
The visual difference comes from light. A thicker ridge, rougher patch, or glossier area reflects light differently from the surrounding paint, so streaks may appear only when sunlight strikes the wall from the side. A wall can therefore feel smooth to the touch and still look uneven under directional lighting.
Why does paint look streaky after it dries?
Paint looks streaky after drying because separate application passes failed to become one uniform film. When a new pass overlaps paint that has started to set, the boundary remains visible through different thickness, texture, or gloss; the effect becomes stronger under high-angle light and on darker colors.
Water-based paint loses water first, then forms a continuous film as resin particles come together. Solvent-based coatings follow a different evaporation and curing path, but the practical rule is similar: the coating must be distributed evenly while it remains workable. A dry edge cannot be blended as reliably as a wet edge.
Sherwin-Williams and Benjamin Moore both place strong emphasis on following the product label for temperature, humidity, ventilation, and recoat time. Manufacturer instructions take priority over generic timing because acrylic, vinyl-acrylic, alkyd, urethane, and specialty coatings do not dry at identical rates.
Why Paint Dries With Visible Bands
Paint streaking usually results from several small differences that compound across the wall. The roller deposits more coating in one area, the substrate absorbs more water in another, and the room’s airflow shortens the working time before the painter can blend the passes.
How application technique creates bands
Application technique creates bands when the roller is underloaded, overloaded, tilted, or repeatedly pushed over partially set paint. A nearly dry roller leaves thin coverage and pressure ridges, while an overloaded roller can leave heavy edges, spatter, and an inconsistent orange-peel texture.
Use these technique controls:
- Load the roller until the sleeve is saturated without dripping.
- Apply paint in a manageable section, usually 3-4 feet wide.
- Overlap the adjacent wet column by roughly 50 percent.
- Keep pressure light and consistent, using the roller’s weight rather than forcing it against the wall.
- Finish with parallel strokes in one direction, normally from ceiling to floor.
- Stop touching an area when the paint becomes tacky.
The W or N pattern helps distribute paint, but the pattern is not the main solution. A painter can create streaks with a perfect W if the section is too large, the roller is dry, or the edges have already flashed off.
How roller loading changes the finish
A roller sleeve should carry enough paint to cover its intended section without requiring force. If the roller begins squeaking, dragging, or leaving transparent bands, the sleeve is underloaded. If paint squeezes from the ends or produces heavy splatter, the sleeve is overloaded.
| Roller condition | Visible result | Likely correction |
|---|---|---|
| Dry center, dry edges | Thin vertical bands and poor hiding | Reload after each 3-4 foot section |
| Heavy end rings | Dark lines near roller edges | Distribute paint evenly in the tray |
| Excessive pressure | Compressed texture and narrow ridges | Reduce force and use a quality frame |
| Repeated back-rolling | Shiny patches and torn texture | Stop once paint becomes tacky |
When the surface causes streaks
The surface causes streaks when different areas absorb paint at different rates or carry different textures. New drywall, joint compound, spackle, bare wood, chalky old paint, and sanded patches can each create a different level of porosity.
Drywall paper and joint compound are especially prone to flashing. A finish coat may look uniform while wet, then dry into dull and shiny zones because repaired areas pull binder and water from the coating at different rates. A dedicated drywall primer or quality acrylic primer creates a more consistent base.
Contamination creates another failure mode. Grease near a kitchen range, silicone residue, furniture polish, smoke deposits, and dust can cause craters, fisheyes, adhesion loss, or isolated gloss changes. Painting over contamination does not solve the surface problem.
How sheen and color change visibility
Paint sheen changes visibility because higher-gloss surfaces reflect more directional light. Flat paint scatters light and hides minor texture, whereas eggshell, satin, semi-gloss, and gloss expose roller ridges, sanding marks, and inconsistent film thickness.
| Finish | Typical light reflection | Defect visibility | Common USA use |
|---|---|---|---|
| Flat or matte | Low | Lowest for roller texture | Ceilings, low-traffic bedrooms |
| Eggshell | Low to medium | Moderate under side light | Living rooms and hallways |
| Satin | Medium | High on smooth walls | Kitchens, bathrooms, trim |
| Semi-gloss | Medium to high | Very high | Doors, baseboards, washable areas |
| High-gloss | High | Highest | Furniture, selected trim, accents |
Dark and saturated colors can also look streaky because they often require more coats for consistent hiding. A tinted primer close to the final color can reduce the number of finish coats, but primer cannot correct raised ridges or poor sanding.
Which Tools Reduce Roller Tracking?
Premium woven sleeves generally provide the most predictable finish on smooth interior walls because they release paint evenly and shed less lint. The best tool still depends on surface texture, coating viscosity, wall size, and the painter’s speed.
| Tool or material | Typical USA cost | Recommended specification | Main limitation |
|---|---|---|---|
| Woven roller sleeve | $6-$12 | 3/8-inch nap for smooth walls | Costs more than basic knit covers |
| Microfiber sleeve | $7-$14 | 3/8- to 1/2-inch nap | Can overload and add texture |
| Knit roller sleeve | $3-$7 | 1/2- to 3/4-inch nap for moderate texture | More lint and uneven release |
| Paint conditioner | $10-$18 per quart | Product-approved dose only | Excess weakens hiding and film strength |
| 12-inch roller frame | $12-$25 | Compatible with 12-inch sleeves | Heavier and less convenient in corners |
| Airless sprayer | $250-$700 purchase | Fine-finish tip for interior coatings | Requires extensive masking and cleanup |
For a smooth drywall wall, a 3/8-inch woven or microfiber sleeve is a practical starting point. Use 1/2-inch nap for lightly textured walls and 3/4-inch nap for heavier texture, but confirm the paint manufacturer’s recommendation because a long nap can exaggerate surface texture.
Paint conditioner can extend open time in some water-based coatings, especially in hot, dry rooms or during detailed trim work. Conditioner does not repair a porous substrate, replace primer, or make an excessively large section manageable. Follow the label rather than assuming a fixed percentage.
An airless sprayer avoids direct roller contact, but spraying does not remove the need for preparation. Uneven substrate, incorrect tip pressure, poor overlap, or dry spray can create a different form of patchiness. Spraying is usually a poor choice for one furnished room unless the masking and cleanup time justify it.
How Do You Fix Streaky Paint?
Fix streaky paint by first identifying whether the coating is wet, tacky, or fully dry. Wet paint can usually be redistributed across the whole section, while dry paint needs leveling and cleaning before a complete corrective coat.
Repairing paint that is still wet
If paint remains wet and workable, reload the roller and lightly re-roll the entire affected section from top to bottom. Do not dab isolated marks, because small touch-ups create separate thickness and sheen zones that may remain visible after drying.
Keep the roller evenly loaded, overlap the neighboring wet section, and finish with one-direction lay-off strokes. If the paint grabs, strings, or feels rubbery, stop immediately and allow it to dry instead of forcing the roller through the setting film.
You will know the wet repair worked when the section has one consistent texture, no dry roller edges, and no visible boundary from normal viewing angles. A side-lit inspection is more demanding and may reveal defects that require a later coat.
Repairing fully dried streaks
Fully dried streaks usually require sanding and repainting rather than spot correction. Wait at least 24 hours for typical latex paint before sanding, and wait longer if the room is cool, humid, or poorly ventilated.
- Sand raised ridges with 120- to 150-grit paper.
- Finish broad smoothing with 180- to 220-grit paper.
- Vacuum the dust and wipe with a clean, damp microfiber cloth.
- Prime exposed drywall paper, joint compound, or bare substrate.
- Apply a full coat across the wall or a natural break such as a corner.
- Allow the labeled recoat time before applying another coat.
Do not aggressively sand a thin paint film until the drywall paper shows. If the streaks are mainly color variation and the wall is already flat, sanding the entire surface may be unnecessary; a uniform new coat can be enough.
| Dry defect | First repair action | Recoat scope | Typical active labor |
|---|---|---|---|
| Two or three shallow roller ridges | Sand 180-grit | One wall section | 1-2 hours |
| Widespread vertical bands | Lightly sand 150-220 grit | Entire wall | 3-5 hours |
| Exposed joint-compound patches | Prime repaired areas | Entire affected wall | 3-6 hours |
| Heavy texture and hardened ridges | Sand or skim-coat | Entire wall | 6-12 hours |
| Persistent stains or adhesion loss | Clean, seal, and prime | Full affected surface | 4-8 hours |
What Is the Correct Painting Sequence?
The correct sequence is to prepare the substrate, control the environment, mix the paint, cut in one manageable area, roll immediately into that area, and maintain a wet edge until the wall is complete. The sequence matters because a dry brush border creates picture framing even when the roller work is technically sound.
Step 1: Prepare and clean the surface
Remove dust, grease, loose paint, and sanding residue before opening the paint. Fill holes and dents, allow the compound to dry, sand it smooth, and remove the resulting powder with a vacuum and damp cloth.
Glossy surfaces may need deglossing or bonding primer. Stains from water, smoke, or tannins may need a stain-blocking primer rather than ordinary wall primer.
Step 2: Prime uneven or porous areas
Prime new drywall, joint compound, bare wood, chalky surfaces, and sharply contrasting repairs. Apply enough primer to seal absorption without leaving runs, then follow the primer label for drying and sanding.
A spot-primer can work for small repairs, but broad patchwork often flashes through the finish. In that situation, prime the entire wall or use a uniform preparatory coat.
Step 3: Stabilize room conditions
Keep interior painting within the paint label’s temperature range. Many latex products specify approximately 50-90°F, while the most forgiving working conditions are typically around 60-80°F with moderate humidity and no direct airflow.
Turn off fans and forced air that blow directly across the wall. Do not seal a room so tightly that solvent vapors accumulate; water-based coatings still require ordinary ventilation, and solvent-based products require the safety controls stated on the label.
Step 4: Mix and stage the paint
Stir settled pigment and binder from the bottom of the can. For a large wall, box compatible cans by combining them in a clean bucket so minor batch differences do not create a visible color boundary.
Keep a wet roller, a clean tray, an angled brush, and a damp cloth nearby. Interruptions cause more lap marks than a slightly slower rolling pace.
Step 5: Cut in and roll in sequence
Cut in only a section that can be rolled before the brush edge dries. A useful working width is about 3-4 feet, although a second person can brush immediately ahead of the roller.
Load the roller, spread the paint in a W or N pattern, fill the open spaces, and overlap the previous column by about half the roller width. Finish from ceiling to floor with light, straight passes.
Step 6: Let the film dry before recoating
Follow the can for recoat time. Typical interior latex paint may be dry to touch in about 1 hour and ready for another coat in 2-4 hours, but cool temperatures, high humidity, dark colors, and poor airflow can extend the interval.
A surface that feels dry is not necessarily cured. Recoating too early can soften the first layer, drag the roller, and produce heavier streaks or visible texture.
How Long Should Paint Dry Before Another Coat?
Most interior latex paints need roughly 2-4 hours before recoating under ordinary indoor conditions, while full cure commonly takes 2-4 weeks. The exact interval comes from the product label, not from the room clock.
| Paint condition | Typical latex timeframe | Practical decision |
|---|---|---|
| Dry to touch | 1-2 hours | Avoid rubbing or masking |
| Recoat-ready | 2-4 hours | Confirm the label and test lightly |
| Heavy color or humid room | 4-8 hours | Wait longer before rolling |
| Light foot traffic on trim | 24-48 hours | Handle carefully |
| Full hardness or cure | 2-4 weeks | Avoid aggressive washing |
Paint may feel dry on top while remaining soft underneath. A fingernail test in an inconspicuous area can indicate softness, but it should not replace the manufacturer’s instructions.
Why Is Ceiling Paint Patchy?
Ceiling paint often looks patchy because broad surfaces receive changing light, absorb unevenly, and are difficult to keep wet across a long reach. Lap marks are especially common when a painter works from a ladder in small disconnected patches.
Use a 3/8-inch nap sleeve on smooth ceilings and a longer nap for texture. Maintain a consistent direction, work toward the room’s main light source, and keep a wet edge across manageable strips. Extension poles reduce pressure changes and help maintain parallel passes.
Flat ceiling paint hides minor texture better than satin paint, but flat paint will not hide water stains, grease, or severe substrate differences. Seal those problems first.
Why Does Dark Paint Look Uneven?
Dark paint looks uneven because saturated colors show variation in coverage and sheen more readily than pale colors. A dark wall can need two finish coats even when a light color covers in one, particularly over a white, patched, or strongly contrasting base.
Use a gray or color-tinted primer recommended for the chosen paint. Maintain consistent film thickness, avoid spot repairs after the wall begins setting, and inspect the result after the final coat has dried under both diffuse and side lighting.
Dark colors also expose burnishing, where rubbing or repeated rolling changes the surface sheen. Keep furniture, tape, and cleaning away from the wall until the coating has cured.
Common Mistakes and How to Fix Them
Painting an entire room’s edges first
Brushing every corner and trim line before rolling the walls creates a dry border. Fix picture framing by working in short sections, brushing the edge immediately before rolling the adjacent field.
Stretching one roller load too far
Trying to cover a full wall with one load produces thin areas and visible overlap. Reload when coverage becomes translucent or the roller starts dragging rather than pressing harder.
Returning to a tacky blemish
A tacky film can tear, wrinkle, or become shinier when disturbed. Leave the area alone, let it dry, then sand or recoat the full visual section.
Using a damaged or dirty sleeve
Dried paint, lint, and flattened fibers create repeating lines. Replace the sleeve when it sheds, loses shape, or contains hardened material that cannot be rinsed away.
Painting over dust or grease
Dust prevents uniform wetting, while grease can cause craters and adhesion failure. Clean first, allow the surface to dry, and use the appropriate primer for the contaminant.
Changing paint batches across one wall
Slight tint differences can appear as broad vertical bands. Mix cans together before application, and retain the batch information printed on the label for future touch-ups.
When Should You Repaint or Call a Professional?
Repaint a streaky wall when the defect covers more than a few isolated inches, when the sheen changes across normal viewing angles, or when sanding individual marks would create visible patches. A professional becomes practical when the wall has widespread ridges, textured repairs, high ceilings, water damage, or repeated adhesion failure.
Typical USA DIY material costs are $35-$90 for primer, paint, sleeves, sandpaper, and cleaning supplies for one average wall. A full room commonly requires $100-$300 in materials, excluding specialized equipment, while professional interior repainting often ranges from several hundred to more than $2,000 depending on room size, repairs, ceiling height, trim, and local labor rates.
The least expensive correction is not always a single extra coat. If the substrate is porous or contaminated, another finish coat can reproduce the same defect.
FAQ
Can one coat of paint look streaky even with a good roller?
Yes. One coat can look streaky when the color has low hiding power, the base color contrasts strongly, or the substrate absorbs unevenly. Allow the first coat to dry, then apply a complete second coat rather than adding random patches. A compatible tinted primer can improve coverage for saturated colors.
Why does paint look streaky only at certain times of day?
Directional sunlight or strong lamps reveal small changes in texture and gloss that diffuse light hides. If streaks appear mainly in side light, inspect for roller ridges, lap boundaries, or burnishing. If the wall is smooth but color varies, investigate porosity, coverage, and batch consistency.
Should you sand between coats of wall paint?
Usually, sanding between ordinary wall-paint coats is unnecessary when the surface is clean and smooth. Lightly sand with 180- to 220-grit paper when dust nibs, raised fibers, roller ridges, or rough repairs remain. Remove all sanding dust before recoating.
Can paint extender prevent streaks?
Paint extender can reduce streaks by slowing drying and preserving the wet edge, especially in hot, dry conditions or during detailed trim work. Extender cannot compensate for poor loading, excessive pressure, an unprimed substrate, or painting sections larger than the available working time.
Is a brush or roller less likely to leave streaks?
A roller usually produces more uniform coverage on broad walls, while a brush is better for corners, trim, and narrow areas. Brush marks become visible when the coating is thick, the brush is overloaded, or the paint sets before leveling. Use each tool where its application pattern is easiest to control.
Can you touch up a streak without repainting the whole wall?
Sometimes, but only when the touch-up uses the same paint batch, sheen, surface preparation, and application tool. For visible walls, a full coat from corner to corner is more reliable because a small patch changes film thickness and light reflection. Touch-ups are most successful on flat paint and low-light areas.
The Bottom Line
Why does paint look streaky? The paint film dried with inconsistent coverage, texture, or gloss, usually because the wet edge was lost, the roller pressure or loading changed, or the surface absorbed paint unevenly. Correct the substrate, use the right nap, work in 3-4 foot sections, overlap wet paint, and wait the labeled 2-4 hours or longer before recoating.