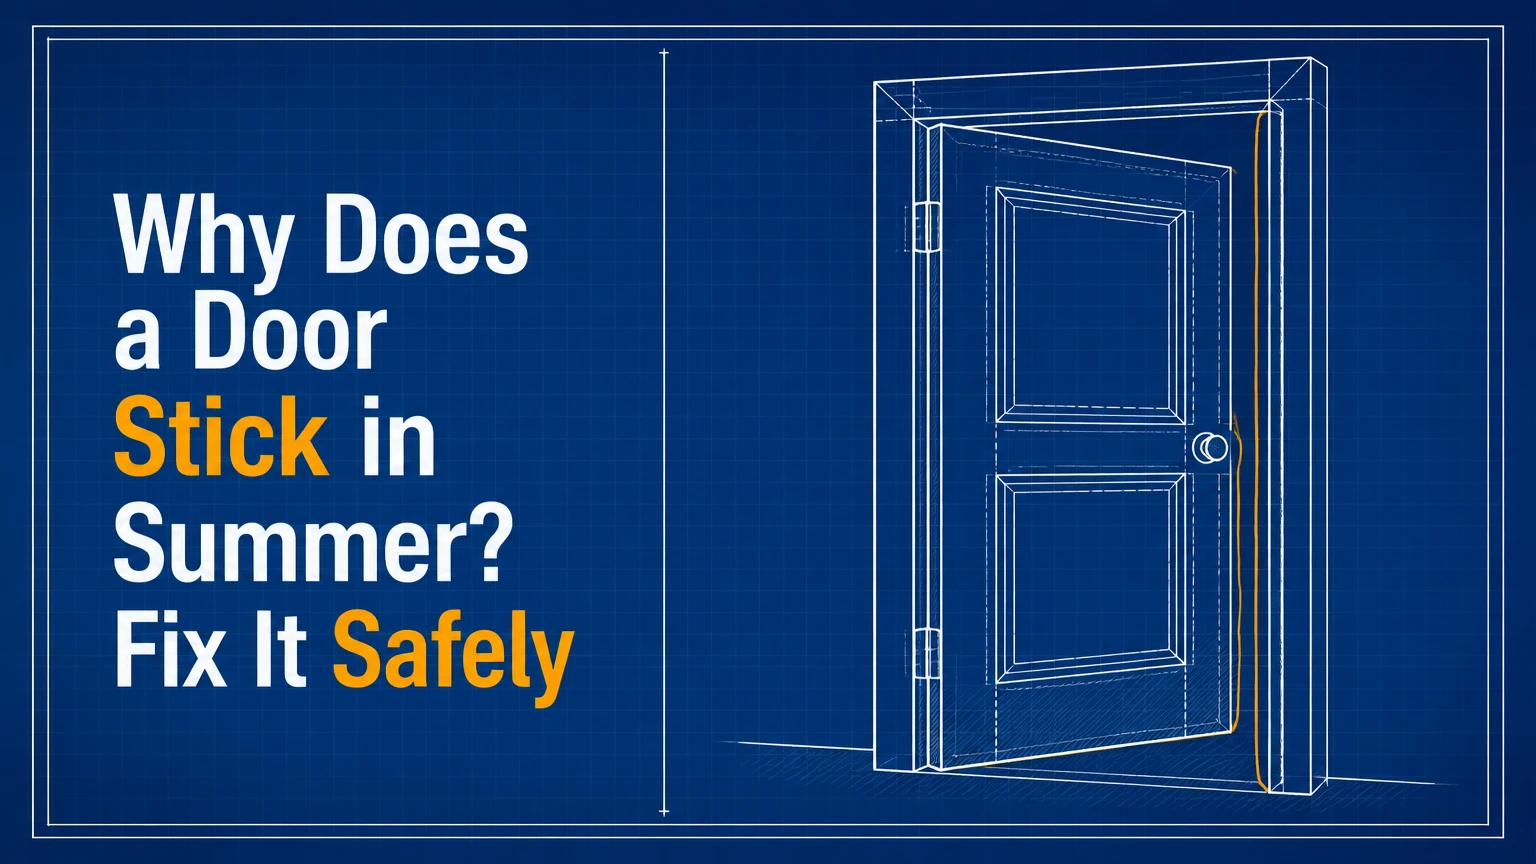
Why Does a Door Stick in Summer? Fix It Safely
A door sticks in summer because humidity makes wood absorb moisture and swell, while sunlight can thermally expand uPVC, vinyl, aluminum, and steel components. Loose hinges, shifted jambs, softened paint, weatherstripping, or floor movement can reduce the remaining clearance, so the door rubs, drags, or jams against its frame.
Key Facts at a Glance
- Wood doors respond mainly to moisture content and relative humidity, not outdoor temperature by itself.
- A typical door reveal is about 1/8 to 3/16 inch, or 3-5 millimeters, around the head and sides.
- Indoor relative humidity near 30-50% usually limits seasonal wood movement; persistent readings above 60% increase swelling risk.
- A top-latch-corner rub commonly indicates loose hinges or a sagging door, not a uniformly oversized panel.
- Wax or dry soap can reduce friction temporarily, but neither remedy corrects swelling, sagging, or a distorted frame.
- Sanding or planing removes material permanently and can create winter drafts if too much is removed.
Why Does a Door Stick in Summer?
Summer door sticking usually results from lost clearance between the door slab and its frame. Wood takes on water vapor when indoor humidity rises, expanding most across the grain; doors exposed to direct sun can also heat and move, while hinges or jambs may shift enough to turn minor expansion into binding.
The USDA Forest Products Laboratory describes wood as “a hygroscopic material; it gains or loses moisture” in response to surrounding conditions, a property that explains seasonal swelling in solid wood, veneer, and many wood-core products. Relative humidity is the useful indoor measurement. A hot, dry desert day may cause less wood movement than a cooler Gulf Coast day with persistently damp air.
A normal reveal gives the door only a few millimeters of operating tolerance. If a 3-millimeter gap loses 1 millimeter at the latch edge and the upper hinge also loosens, friction appears suddenly even though the door has changed only slightly.
How humidity changes a wood door
Wood doors swell because cell walls absorb water vapor until the wood approaches equilibrium with its environment. The greatest dimensional movement occurs across the grain, so a stile-and-rail door or slab commonly changes width more noticeably than length.
Unsealed top and bottom edges are frequent trouble spots. Paint and clear finish slow moisture exchange, but they do not make wood waterproof, especially where an edge was cut, sanded, or damaged. A bathroom, laundry room, basement, or poorly ventilated kitchen can create a local humidity problem even when the rest of the house feels comfortable.
Wood movement also varies by species, cut, construction, and moisture history. A solid oak slab, a hollow-core interior door, and a laminated engineered door will not respond identically.
| Door construction | Main summer response | Typical vulnerable area | First inspection |
|---|---|---|---|
| Solid wood slab | Moisture swelling across grain | Latch stile, top edge, bottom edge | Unsealed wood and reveal |
| Raised-panel wood | Panel and frame movement | Rail, stile joint, latch corner | Paint cracks and joint movement |
| Hollow-core interior | Limited slab movement, hardware sag | Top latch corner | Hinge screws and jamb |
| Wood-core composite | Core moisture movement | Hinge edge or lock edge | Failed seals and exposed core |
| Veneered engineered door | Moderate moisture response | Cut or damaged edge | Veneer lifting and finish breaks |
Do uPVC and metal doors expand in heat?
uPVC, vinyl, aluminum, and steel doors can expand when heated, but direct solar gain and hardware alignment often matter more than ordinary indoor temperature changes. Dark-colored exterior frames and doors absorb more solar energy, so a west-facing dark door may bind in afternoon sun and operate normally after sunset.
Thermal expansion is proportional to the material’s coefficient, temperature change, and length. For example, a 2-meter uPVC component with a typical coefficient near 50-80 × 10⁻⁶ per degree Celsius changes about 2-3 millimeters across a 30°C temperature increase. Actual movement depends on the complete door system, reinforcement, fasteners, seals, and frame restraint.
Aluminum has a higher thermal expansion coefficient than steel, but a properly installed door allows for movement through clearances and hardware adjustment. A metal door that sticks only in strong sun may need frame, hinge, or weatherstrip adjustment rather than shaving.
| Material | Approximate expansion coefficient | 2 m movement over 30°C | Common symptom |
|---|---|---|---|
| uPVC | 50-80 × 10⁻⁶/°C | 3.0-4.8 mm | Lock-side compression |
| Aluminum | 22-24 × 10⁻⁶/°C | 1.3-1.4 mm | Sun-side frame binding |
| Steel | 11-13 × 10⁻⁶/°C | 0.7-0.8 mm | Hinge or strike misalignment |
| Dry softwood, width movement | Construction-dependent | Variable, often 1-4 mm | Edge rubbing or swelling |
The figures are material-level estimates, not guaranteed door movement. Fasteners and reinforcement can restrain expansion, while seals can create the first noticeable resistance.
What Does the Sticking Location Reveal?
The contact location provides the fastest diagnosis. A top latch-side rub usually points to hinge-side sag or a shifted jamb, while uniform contact along the latch edge suggests swelling, frame compression, or excessive weatherstrip pressure.
| Sticking location | Likely cause | Useful test | Likely first remedy |
|---|---|---|---|
| Top latch corner | Loose top hinge or sag | Lift door by handle | Tighten hinge or install structural screw |
| Middle latch edge | Slab swelling or weatherstrip | Inspect chalk transfer | Reduce humidity or adjust seal |
| Hinge-side edge | Jamb shift or loose hinges | Check hinge plate movement | Tighten screws and inspect jamb |
| Bottom edge | Swelling, sag, or floor rise | Check hinge alignment and floor | Adjust hinges, then inspect floor |
| Whole perimeter | Oversized slab or frame distortion | Measure reveals | Climate control and professional assessment |
A door that rubs at one small point is mechanically different from a door that contacts the entire jamb. That distinction prevents unnecessary planing.
How Can You Locate the Exact Sticking Point?
Locate the rubbing point with a slow-closing test, a strip of cardstock, and removable chalk. The test takes about 5-10 minutes and identifies whether the problem is a door edge, latch, weatherstrip, threshold, or floor contact.
- Close the door slowly without forcing the handle.
- Note the first point where resistance begins.
- Rub white or colored chalk lightly along the suspected door edge.
- Open and close the door once.
- Inspect the frame for transferred chalk.
- Use a 1/32-inch feeler gauge or thin cardstock to compare the reveal.
- Photograph the contact area before making adjustments.
You will know the point is confirmed when chalk transfers to one narrow zone or the cardstock pinches only in that location. Do not use a permanent marker on painted trim.
The common mistake is testing only with the door fully closed. A latch can appear aligned at the final position while the slab is already scraping during the closing arc.
Should You Tighten Hinges or Sand the Door First?
Tighten and inspect the hinges before removing wood. Hinge adjustment preserves the door’s original dimensions and often fixes top-corner rubbing caused by a loose screw, compressed jamb, or sagging slab.
Open the door about 30 degrees and lift gently by the handle. If the hinge leaf moves, screws turn without tightening, or the door rises noticeably, repair the hinge connection first. Replace one top-hinge screw with a structural screw long enough to reach framing, commonly 2 1/2-3 inches in a suitable installation, while avoiding electrical cables and plumbing.
A 3-inch screw is not automatically correct for every jamb. It must be compatible with the hinge hole, jamb thickness, wall construction, and manufacturer instructions. A screw driven through a thin jamb without solid framing can split the jamb or distort the reveal.
| Repair action | Typical DIY time | Typical USA material cost | Best use |
|---|---|---|---|
| Tighten existing hinge screws | 5-10 minutes | $0 | Loose but intact screws |
| Replace one hinge screw | 10-20 minutes | $5-$12 | Sagging door with solid framing |
| Repair stripped wood hole | 30-60 minutes | $5-$15 | Spinning hinge screws |
| Adjust strike plate | 15-30 minutes | $0-$10 | Latch-only misalignment |
| Plane and reseal edge | 1-2 hours | $20-$50 | Confirmed permanent edge interference |
How do you repair a loose hinge screw?
Remove the loose screw and inspect the hole. If the hole is stripped, pack it with hardwood slivers or wooden toothpicks and wood glue, allow the adhesive to cure according to its label, trim the repair flush, and reinstall the screw.
Use a manual screwdriver for final tightening because a power driver can strip the head or over-compress the jamb. Check the reveal after every adjustment. A hinge plate should sit flat against the door or jamb, with no visible gap underneath.
If the jamb is cracked, the screw hole has no structural wood, or the door is heavy glass, steel, or fire-rated, stop at basic tightening and call a qualified door professional.
Is Humidity the Main Fix for a Swollen Wood Door?
Humidity control is the best first response when a wood door sticks during humid weather but works normally in dry months. Target approximately 30-50% indoor relative humidity with air conditioning, ventilation, or a dehumidifier, then allow 24-72 hours for the door to respond.
Measure humidity with a digital hygrometer placed near the door, not beside a supply vent or directly in a bathroom. A portable dehumidifier rated for the room can remove moisture, but the actual result depends on room volume, leakage, outdoor air, and condensate management.
Running a dehumidifier while leaving windows open in humid weather reduces efficiency. In a basement, inspect for plumbing leaks, damp masonry, wet carpet, or a high water table because equipment alone will not correct the source.
| Indoor condition | Relative humidity | Expected door response | Recommended action |
|---|---|---|---|
| Dry winter interior | 20-30% | Wood may shrink | Avoid permanent gap changes |
| Typical comfort range | 30-50% | Lower seasonal movement | Maintain HVAC or dehumidification |
| Humid summer interior | 51-60% | Swelling becomes more likely | Measure room sources |
| Persistent moisture problem | 61-70% | Binding and finish damage risk | Dehumidify and investigate leaks |
| Severe dampness | Above 70% | Mold and material damage risk | Correct moisture source promptly |
Humidity thresholds are practical guidance, not a physical switch. A poorly sealed bathroom door may swell at lower average readings because its edge experiences repeated steam exposure.
When Is Wax, Soap, or Lubricant Appropriate?
Dry soap or paraffin wax is appropriate as a temporary friction reducer after the contact point is identified and the door remains structurally sound. Apply a thin film to the rubbing edge or latch contact, not to a lock cylinder or multi-point mechanism unless the manufacturer specifies a compatible lubricant.
Wax does not shrink wood, straighten a jamb, tighten a hinge, or solve a fire-door clearance problem. It can also collect dust and transfer to painted trim. Use it as a short-term measure while humidity changes take effect or while arranging repair.
For uPVC multi-point locks, do not force the handle or repeatedly lift it against resistance. Internal gearboxes and locking rods can bend or fail, turning a minor alignment problem into a more expensive repair.
Should You Plane or Sand a Summer-Sticking Door?
Plane or sand a wood door only after confirming that the interference is physical, localized, and unlikely to disappear in drier weather. Remove the smallest practical amount, usually 1-2 millimeters for an initial correction, then seal every exposed wood surface.
Mark the contact zone, remove the door if necessary, support it securely, and use a sharp hand plane or controlled sanding block. Rehang the door before removing more material. The success checkpoint is a consistent reveal with no scraping through the full closing arc.
Sanding is a poor first choice for a seasonal problem because the door may shrink in winter. A gap created during peak humidity can become visible, drafty, and acoustically noticeable during a dry heating season.
After cutting, apply compatible primer and finish to the exposed edge, including the top and bottom where appropriate. If the door is hollow-core, fire-rated, historic, veneered, or under warranty, confirm allowable trimming before cutting.
Which Repair Works Best for Each Door Type?
The best repair depends on the material and symptom. Humidity control suits wood swelling, hinge adjustment suits a top-corner catch, seal adjustment suits compression, and professional alignment suits uPVC or multi-point locking problems.
| Door type | First choice | Avoid first | Professional trigger |
|---|---|---|---|
| Solid wood interior | Measure RH, inspect hinges | Removing 3 mm immediately | Historic joinery or severe warp |
| Fiberglass composite | Inspect seals and hinges | Aggressive edge sanding | Skin damage or core movement |
| uPVC entry door | Adjust hinges and lock keeps | Forcing handle | Multi-point lock resistance |
| Aluminum storm door | Check closer and frame | Bending the frame | Frame twist or glass damage |
| Steel exterior door | Inspect hinges and strike | Planing steel skin casually | Rusted frame or security issue |
Composite doors require special care because a fiberglass-reinforced skin may remain stable while the timber core or frame moves. A visible gap at the seal does not prove that the slab itself has swollen.
What If the Door Drags on the Floor?
A floor-dragging door may have swollen at the bottom, sagged at the hinges, or encountered a floor or threshold that moved. Check the reveal at the head and latch side before cutting the bottom edge, because hinge sag often causes the lower corner to drop.
Inspect for new flooring, raised carpet, swollen wood flooring, damp subflooring, and threshold movement. A door that drags only after rain may indicate moisture entering near the sill rather than ordinary seasonal panel movement.
A bottom cut can also reduce clearance from a threshold seal and allow insects, drafts, water, or smoke to pass. Exterior and fire-rated doors need manufacturer-specific limits.
What If Several Doors Stick at Once?
Several doors becoming difficult to close at once suggests a house-wide humidity change, frame movement, or foundation-related movement, but it does not prove foundation failure. Compare indoor RH, inspect floors and trim, and look for diagonal cracks or windows that also bind.
One humid week can affect multiple wood doors, especially in an unconditioned home. Conversely, several new diagonal gaps, cracked drywall, sticking windows, and uneven floors justify a building professional or structural engineer.
Do not plane every door during a whole-house event. Correct the environmental or structural cause first.
What Should a Renter Do?
Renters should document the sticking location, avoid sanding or drilling, and notify the landlord when the door affects security, ventilation, or emergency exit access. Temporary humidity control and a small amount of manufacturer-approved dry lubricant are generally safer than permanent alterations.
Take dated photographs and note whether the problem changes with morning sun, rain, air conditioning, or humidity. A landlord or maintenance technician can distinguish a loose hinge from a frame problem without risking a deposit deduction.
Never disable a self-closing fire door, remove a closer, or alter a main exit door without written authorization.
What Does a Typical Repair Cost in the USA?
A minor sticking-door repair commonly costs $0-$50 for DIY materials, while professional service often falls around $75-$250 for adjustment, hinge repair, or limited trimming. Frame reconstruction, severe rot, structural movement, and complete door replacement can raise the cost to $350-$1,500 or more.
Prices vary by metro area, door type, access, finish matching, and whether a second trade is required. A basic carpenter visit may solve a wood interior door, while a certified locksmith or specialty installer may be needed for a multi-point entry system.
| Repair category | Typical DIY cost | Typical professional cost | Typical duration |
|---|---|---|---|
| Hinge tightening | $0-$12 | $75-$150 | 15-30 minutes |
| Strike or seal adjustment | $0-$25 | $90-$200 | 30-60 minutes |
| Local wood trimming and sealing | $20-$50 | $150-$300 | 1-2 hours |
| uPVC hinge alignment | Usually $0-$20 | $125-$300 | 30-90 minutes |
| Jamb or frame reconstruction | $50-$200 | $350-$1,000+ | 4-12 hours |
These are typical USA planning ranges, not fixed quotes. Historic finishes, lead-based paint, concealed hinges, and damaged lock hardware can add labor.
Common Mistakes and Safer Alternatives
- Sanding before checking hinges: Repair loose hardware first, because removing wood cannot correct a sagging slab.
- Removing too much material: Start with 1 millimeter or less, rehang the door, and retest.
- Leaving cut wood unsealed: Prime and finish the exposed edge on the same repair cycle.
- Forcing a locked uPVC handle: Stop when resistance increases and arrange lock adjustment.
- Ignoring a wet threshold: Find leaks, condensation, and damp flooring before modifying the door.
- Treating all door gaps alike: Preserve manufacturer clearances for exterior, smoke-control, and fire-rated assemblies.
A professional assessment is warranted when the door is an emergency exit, the frame is visibly cracked, the door contains safety glass, the slab is fire-rated, or several openings changed simultaneously.
How Do You Prevent Summer Door Sticking?
Prevent summer sticking by keeping indoor RH near 30-50%, maintaining finish on all exposed wood edges, tightening hinge screws before the season, and keeping exterior water away from thresholds. Prevention works best when it addresses both moisture and alignment.
Use a hygrometer in humid rooms, run bathroom exhaust during and after showers, repair leaking supply lines, and keep gutters and sprinklers from wetting exterior jambs. Inspect weatherstripping for compression rather than assuming a tight seal means a swollen slab.
At the start of summer, open and close each door slowly, check the top hinge, inspect the reveal, and clean hinge pivots. A 15-minute inspection can identify a loose screw before repeated force bends hardware.
FAQ
Can a door stick in summer without high humidity?
Yes. A door can stick from direct solar heating, a loose hinge, frame settlement, swollen flooring, compressed weatherstripping, or a failing lock mechanism even when indoor humidity is moderate. A west-facing dark uPVC door may bind in afternoon sun and operate normally after cooling.
Why does my bedroom door stick only in the morning?
A bedroom door may stick in the morning because overnight occupancy raises local humidity, windows collect condensation, or the door absorbs moisture in a poorly ventilated room. Measure relative humidity near the doorway and inspect the latch-side edge for chalk transfer before sanding.
Can air conditioning stop a wood door from sticking?
Air conditioning can reduce indoor humidity and often improves a swollen wood door within 24-72 hours. Air conditioning will not correct loose hinges, a distorted jamb, a wet subfloor, or a frame that has shifted, so confirm the sticking point after the room dries.
Is a sticking door a foundation problem?
One seasonally sticking door is usually a moisture, hinge, seal, or localized frame issue rather than proof of foundation movement. A foundation investigation becomes more reasonable when several doors and windows change together, floors become uneven, and diagonal wall or drywall cracks appear.
Should I replace a door that sticks every summer?
Replace a door when repeated repairs cannot maintain alignment, the slab or frame has rot, the locking system is damaged, or the design is unsuitable for the climate. A sound wood door that responds to humidity usually needs environmental control and alignment, not replacement.
The Bottom Line
Why does a door stick in summer? Wood absorbs humid air and expands, while sun-heated synthetic or metal components can move and existing hinge or frame problems reduce clearance. Find the exact contact point, check hinges and indoor humidity, use wax only temporarily, and reserve sanding or planing for confirmed permanent interference. A careful diagnosis protects the door’s winter fit, security, and finish.