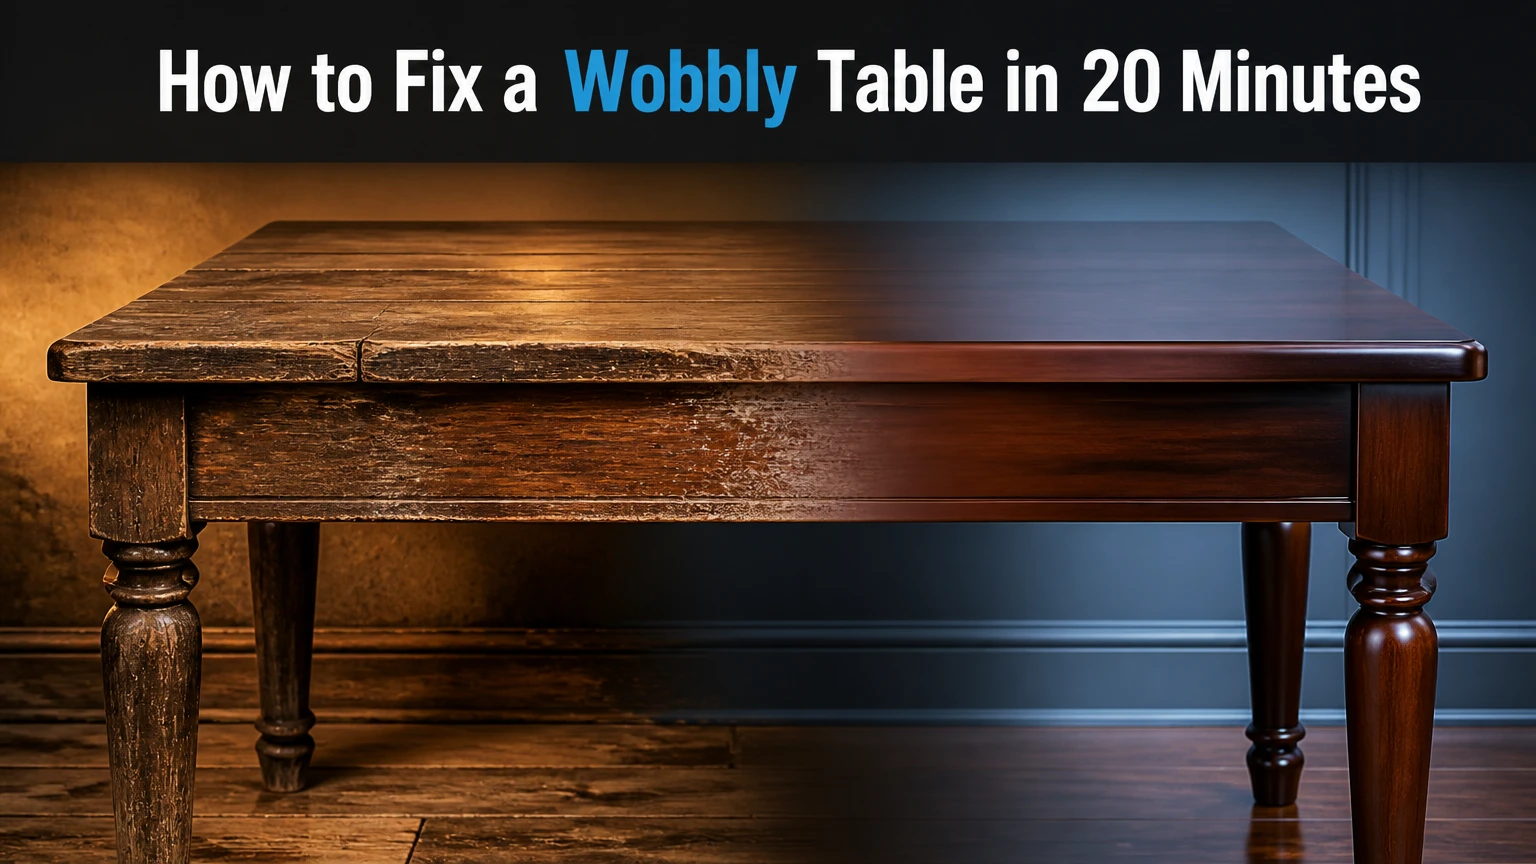
How to Fix a Wobbly Table in 20 Minutes
To fix a wobbly table, first determine whether the movement comes from an uneven floor, unequal leg length, or loose joints. Move the table, test each leg, and inspect the frame; then correct the contact point with a shim or leveling glide, or restore rigidity by tightening and reinforcing the joints.
Key Facts at a Glance
A four-legged table rocks when one contact point does not share the same plane as the other three.
A table that sways with every leg touching the floor usually has a loose apron, leg joint, fastener, or tabletop connection.
Felt pads and folded plastic shims suit light tables; threaded leveling glides suit heavier tables and uneven floors.
Sand only a confirmed long solid-wood leg, removing roughly 1/32 inch at a time and checking after every adjustment.
Typical USA repair cost ranges from $2-$10 for pads, $8-$25 for glides, and $10-$30 for braces and screws.
A table that shifts under normal use, has cracked structural wood, or has a splitting metal weld needs repair before continued use.
Why Does a Four-Legged Table Rock?
A four-legged table rocks because its four feet are not coplanar, meaning one foot is too high, too low, or resting on a different part of the floor. Three points always establish a plane, but a fourth point can alternate between two three-point contact arrangements, producing the familiar back-and-forth motion.
Loose joints create a different kind of instability. The feet may all touch the floor, yet the legs can pivot against the apron, stretchers, corner blocks, or tabletop. That movement is structural rather than a simple leveling problem.
A useful distinction is movement direction. Rocking diagonally across the floor usually indicates a contact-height problem. Swaying when someone pushes the tabletop usually indicates joint flex, loose hardware, or a detached top.
What Causes the Wobble?
| Symptom | Likely cause | Confirmation test | Corrective action |
|---|---|---|---|
| Rocks diagonally on tile | Uneven floor or short leg | Move table 3-6 feet | Rubber pad or glide |
| One leg lifts visibly | Unequal leg length | Check on a flat surface | Shim or sand confirmed long leg |
| Top shifts over base | Loose tabletop fasteners | Push opposite corners | Tighten clips or screws |
| Leg moves at apron | Loose joint or failed glue | Shake leg by hand | Tighten, reglue, or brace |
| Wobble worsens under load | Flexing frame or split joint | Press 25-40 pounds on top | Structural repair before use |
| Metal leg twists | Loose bolt or cracked weld | Inspect underside | Tighten bolt or seek metal repair |
How Do You Diagnose a Wobbly Table?
Diagnose a wobbly table in three tests: move it to a known flat surface, check each leg for independent movement, and compare contact heights. The sequence takes about 60 seconds and prevents a common mistake, adding a pad to a table whose real problem is a loose frame.
Clear the tabletop first. Place the table on a hard, smooth surface such as a tiled kitchen floor, a garage slab, or a sturdy countertop for a small table. Avoid thick carpet because carpet pile can imitate a short leg.
Step 1: Move the Table to a Flat Surface
Push the table gently from each side and observe whether the movement changes. If the wobble disappears after moving the table, the floor is the primary cause. If the wobble remains in the same direction, inspect the table itself.
A smartphone level can identify tabletop slope, but levelness and stability are different properties. A sloped floor can support a stable table, while a perfectly level tabletop can still sit on a flexible frame.
Checkpoint: The table is stable in one location but unstable in another when the frame remains unchanged.
Common mistake: Diagnosing a floor from a carpeted room without repeating the test on a hard surface.
Step 2: Check Every Joint and Leg
Hold the tabletop firmly with one hand and pull each leg sideways with the other. A leg that shifts independently has a loose fastener, failed glue joint, cracked wood section, or damaged mounting plate.
Inspect the underside for loose nuts, bolts, screws, corner blocks, metal plates, dowels, and stretchers. Look for shiny rub marks around a joint, because repeated movement often polishes the surfaces that are rubbing.
Checkpoint: No leg moves relative to the apron or mounting plate when moderate hand pressure is applied.
Common mistake: Tightening a visible screw without checking whether the screw is spinning in stripped wood.
Step 3: Identify the High or Low Contact Point
On a flat surface, press down on each tabletop corner in turn. The corner that drops or rises identifies the rocking pair, but it does not automatically prove which leg is too long. Confirm the result by placing thin card stock under suspected feet and repeating the test.
For a more precise check, use a straightedge across the feet after removing detachable glides. Measure only after confirming that the floor is flat and that the legs are fully seated in their joints.
Checkpoint: One contact point is identified consistently through at least three pressure tests.
Common mistake: Sanding the leg that appears short when the opposite leg is actually too long.
Which Repair Should You Choose?
The best repair depends on the fault, table weight, floor type, and whether the correction must be reversible. Use a pad for a light table and a temporary correction, a threaded glide for repeatable leveling, a brace for structural sway, and sanding only when a solid-wood leg is permanently too long.
| Repair method | Typical USA cost | Time | Suitable load and material | Main risk |
|---|---|---|---|---|
| Felt or rubber pad | $2-$10 | 2-5 minutes | Light tables, wood, metal | Compression or adhesive failure |
| Plastic wedge shim | $3-$12 | 2-10 minutes | Light or medium tables | Visible edge and movement |
| Screw-in leveling glide | $8-$25 | 20-40 minutes | Medium or heavy wood and metal | Drilling damage |
| Corner brace | $10-$30 | 15-30 minutes | Wood apron and leg joints | Split wood or visible hardware |
| Sanding or planing | $5-$20 | 30-60 minutes | Solid wood on flat floor | Irreversible over-correction |
| Replacement leg or base | $25-$150 | 1-3 hours | Severely damaged furniture | Mismatched height or finish |
Quick Selection by Situation
| Table situation | First choice | Adjustment range | Reversible |
|---|---|---|---|
| Rental side table | Dense rubber pad | 1/16-1/4 inch | Yes |
| Dining table on uneven tile | Threaded glide | 1/4-1 inch | Partly |
| Antique solid-wood table | Joint repair, then shim | 1/32-1/4 inch | Mostly |
| Metal café table | Adjustable foot | 1/4-3/4 inch | Yes |
| MDF particleboard table | External brace or replacement part | 1/16-1/4 inch | Limited |
| Permanently long wood leg | Controlled sanding | 1/32-1/8 inch typical | No |
How Do You Fix a Wobbly Table With Pads or Shims?
Use a dense rubber pad or plastic wedge when the table is light to medium weight and the height correction is no more than about 1/4 inch. Clean the foot, attach the pad to the actual low contact point, and retest the table under normal use.
Felt works well on smooth floors and protects hardwood, but ordinary felt compresses faster under a heavy dining table. Rubber resists sliding and compression better, although some rubber products can mark finished flooring; test an inconspicuous area first.
A wedge shim is more stable than stacked paper because its thickness remains predictable. Use a purpose-made furniture wedge rather than cardboard, folded receipts, or food packaging, which flatten, absorb moisture, and can migrate.
Checkpoint: The table remains stable when pushed from all four sides and when a normal object is placed on top.
Common mistake: Stacking several soft pads instead of using one dense shim with a known thickness.
Pad and Shim Specifications
| Material | Typical thickness | Best floor | Typical service life |
|---|---|---|---|
| Adhesive felt | 1/16-1/8 inch | Finished hardwood | 3-18 months |
| Dense rubber | 1/8-1/4 inch | Tile, vinyl, wood | 1-5 years |
| Plastic wedge | 1/16-1/4 inch | Tile and laminate | 2-10 years |
| Cork sheet | 1/16-1/8 inch | Hardwood | 6-24 months |
| Cardboard | Variable, 1/32-1/8 inch | Temporary testing only | Minutes to weeks |
How Do You Install Adjustable Leveling Glides?
Install an adjustable leveling glide by drilling a centered hole into the leg, fitting the correct threaded insert, and turning the glide until the contact point meets the floor. A typical furniture glide uses a 1/4-20 or 5/16-18 thread and provides about 1/4-1 inch of adjustment.
Confirm the product’s hole diameter before drilling. A 5/16-inch or 3/8-inch hole is common for insert hardware, but the insert manufacturer’s specification controls because an oversized hole can pull out under load.
Step 1: Mark the Center and Drill Depth
Turn the table upside down on padded supports. Mark the center of the leg foot by drawing two lines between opposite corners, then wrap painter’s tape around the drill bit as a depth stop.
Drill straight into the leg, not toward its outer face. On tapered or angled legs, use a guide block or hand drill carefully; drilling through the side can permanently weaken the leg.
Checkpoint: The hole is centered, straight, and stops at the marked depth.
Common mistake: Drilling too deeply into a narrow leg and breaking through the side.
Step 2: Install the Threaded Insert
Clean dust from the hole and install the insert according to its design. A pronged T-nut is tapped into place, while a screw-in insert is driven with the specified hex key or installation tool.
Do not hammer a screw-in insert into undersized wood. The surrounding fibers can split, leaving the glide loose even when the insert appears flush.
Checkpoint: The insert sits flush and does not rotate when the glide is threaded in.
Common mistake: Using a T-nut in a leg that is too thin to contain its prongs.
Step 3: Thread and Adjust the Glide
Thread the foot into the insert, return the table upright, and turn the glide in small increments. Raise the low corner gradually, testing the table after each quarter-turn.
A glide should contact the floor squarely. If the foot tilts, use a swiveling furniture glide or correct the leg angle rather than forcing a rigid foot against the floor.
Checkpoint: The table stays stable after diagonal and side-to-side pressure.
Common mistake: Extending one glide so far that it becomes a lever and loosens the insert.
How Do You Tighten Loose Table Joints?
Tighten loose table joints by securing the existing bolt or screw first, then reinforcing the leg-to-apron connection if movement remains. Use a correctly sized wrench, avoid over-torquing wood threads, and pre-drill every new screw hole near a wood edge.
For a wooden table, remove drawers or access panels that obstruct the underside. Tighten nuts and machine bolts until the joint closes firmly, but stop when the parts meet; additional force can crush wood fibers or strip the fastener.
If a screw spins without tightening, remove it and inspect the hole. For a lightly stripped hole, insert glue-coated hardwood toothpicks, allow the repair to dry fully, trim it flush, and reinstall the screw with a pilot hole. This repair is appropriate for light-to-moderate damage, not a split leg.
Reinforce a Flexible Apron Joint
Place a steel corner bracket across the leg and apron where it will not interfere with drawers, folding hardware, or tabletop movement. Typical brackets are 2-3 inches per side and use screws sized so they do not penetrate the finished face.
Use at least two attachment points on each bracket when the wood thickness allows. Pre-drill holes approximately 1/16 inch smaller than the screw’s solid shank, and keep edge distance to reduce splitting.
Checkpoint: The leg and apron move as one unit when pushed by hand.
Common mistake: Driving long screws through the apron into the visible tabletop or leg exterior.
How Do You Sand a Table Leg Without Ruining It?
Sand or plane a table leg only after proving that the leg is too long on a flat floor and confirming that the joints are tight. Remove about 1/32 inch at a time, reassemble the table, and retest after every adjustment because a few extra strokes can create a new low point.
Protect the finish with painter’s tape near the foot. Use 80-grit abrasive for substantial correction, 120-grit to refine the shape, and 220-grit to smooth the surface before applying a compatible finish.
A hand plane removes material more evenly than aggressive sanding on a square solid-wood foot. Never shorten a hollow metal leg, MDF leg, or veneered particleboard leg by sanding unless the manufacturer specifically permits it.
Checkpoint: All four feet share load on a hard, flat surface without visible rocking.
Common mistake: Removing material from the leg that lifts during the test instead of identifying the actual long leg.
What If the Table Has Metal, MDF, or a Drop Leaf?
Metal tables usually need a replacement adjustable foot, a tightened mounting bolt, or a repaired weld rather than sanding. MDF and particleboard legs often cannot hold repeated screw tightening, so an external bracket, threaded insert designed for sheet material, or replacement base is safer.
Drop-leaf tables require a separate inspection of the hinge, gate leg, locking brace, and support arm. A leaf that is not fully supported can make the entire table appear unstable even when the main legs are equal.
| Table construction | Common failure | Appropriate repair | Avoid |
|---|---|---|---|
| Steel tube legs | Loose foot or weld crack | Replace foot, repair weld | Drilling without wall check |
| Aluminum frame | Stripped machine thread | Larger compatible fastener | Excessive torque |
| MDF legs | Crushed screw hole | Through-bolt or replacement | Repeated wood screws |
| Veneered wood | Loose edge joint | Clamp, glue, concealed brace | Sanding through veneer |
| Drop-leaf frame | Loose gate support | Tighten hinge and brace | Leveling the wrong leg |
| Glass tabletop | Sliding base or pad failure | Non-slip approved pads | Drilling glass or overtightening |
A cracked weld, split leg, or loose glass connection changes the repair from leveling to safety work. Stop using the table until the load path is secure.
What Are the Common Repair Mistakes?
The most damaging mistakes are treating structural movement as a floor-level problem, removing too much wood, and using compressible material under a heavy load. Correct diagnosis matters more than the price of the repair because an incorrect pad can conceal a joint that is progressively loosening.
- Using cardboard under a heavy table: Cardboard compresses and shifts. Replace it with a dense rubber wedge or adjustable glide.
- Over-sanding the long leg: Remove material in 1/32-inch stages and check the result on the same flat surface.
- Ignoring tabletop fasteners: A top that shifts over a rigid base needs clips, Z-fasteners, bolts, or replacement screws.
- Over-tightening bolts: Stop when the joint closes. Crushed wood will not regain its original holding strength.
- Drilling without a depth stop: Painter’s tape prevents accidental breakthrough in narrow or tapered legs.
- Using adhesive on dusty feet: Clean with a suitable surface cleaner and let the foot dry before applying a pad.
- Bracing a moving joint without closing it: A bracket can trap a bad gap. Tighten or reglue the joint before reinforcement.
One practitioner rule is worth remembering: a leveling device corrects contact height, while a brace corrects movement between parts. Neither substitute fixes the other problem.
How Much Does It Cost to Repair a Wobbly Table?
A wobbly table typically costs $2-$30 to repair when the legs and frame remain sound, while replacement legs or professional furniture repair can cost $25-$150 or more. The lowest-cost solution is usually a dense pad, but a threaded glide offers better repeatability on uneven floors.
| Repair scenario | Materials cost | Typical time | DIY difficulty | Professional range |
|---|---|---|---|---|
| One felt or rubber pad | $2-$10 | 5 minutes | Easy | Usually not economical |
| Four adjustable glides | $8-$25 | 30-60 minutes | Moderate | $75-$150 |
| Two corner braces | $10-$30 | 20-40 minutes | Easy to moderate | $75-$175 |
| Stripped wood screw repair | $3-$12 | 1-2 hours including drying | Moderate | $80-$200 |
| Solid-wood leg correction | $5-$20 | 30-60 minutes | Moderate | $100-$250 |
| Replacement base | $25-$150 | 1-3 hours | Moderate | $150-$500 |
Costs vary by region, finish matching, access to the underside, and whether the table is antique or built from engineered wood. A repair shop may charge a minimum labor fee even when the hardware costs only a few dollars.
When Should You Replace the Table Instead?
Replace the base or seek professional repair when a leg is split through its load-bearing section, a weld is cracked, a tabletop connection has failed, or the table moves dramatically under ordinary use. A stable-looking surface is not enough if the structure can collapse when someone leans on it.
Professional help is also appropriate for valuable antiques, carved legs, bonded veneer, glass tops, and tables with unknown finishes. A reversible shim is safer than an irreversible cut when the furniture has financial or sentimental value.
How Can You Prevent Another Wobble?
Prevent recurrence by tightening accessible hardware every six to twelve months, keeping floor glides clean, and lifting the table instead of dragging it. Check furniture after moving it between carpet, hardwood, tile, and uneven older floors because the same table may need a different adjustment in each location.
Avoid placing concentrated loads at a cantilevered edge. For commercial tables, self-leveling feet can reduce repeated service calls, but they add cost and do not repair a cracked frame or undersized base.
FAQ
Can I Fix a Wobbly Table Without Tools?
Yes, a light table can usually be stabilized with an adhesive felt pad, dense rubber pad, or plastic wedge. Clean the foot first, use one measured shim rather than loose paper, and test the table under normal load. Tool-free repairs are less suitable for heavy dining tables or tables with loose joints.
Should the Pad Go Under the Short Leg?
The pad usually belongs under the contact point that needs additional height, but visual inspection alone can misidentify the short leg. Test the table on a flat surface, place a thin temporary shim under suspected feet, and confirm that the rocking stops before attaching a permanent pad.
How Do I Fix a Table That Wobbles on Carpet?
Place a rigid floor protector or a dense board under the table before diagnosing the legs. Carpet pile compresses unevenly and can create apparent wobble, so a felt pad may sink while a rubber pad or adjustable glide remains more stable. Do not level a table permanently while it sits on thick carpet.
Can Wood Glue Fix Loose Table Legs?
Wood glue can fix a separated, clean wood-to-wood joint when the parts fit tightly and can be clamped during curing. Glue alone will not repair crushed MDF, missing hardware, a split leg, or a joint that remains under tension; those conditions require reinforcement or replacement.
Why Does My Table Wobble Only When I Lean on It?
Load-specific wobble usually indicates structural flex, a loose tabletop attachment, or a partially detached apron rather than a short leg. Inspect the underside while applying moderate hand pressure, then tighten the connection or add a correctly positioned brace after confirming that the wood is sound.
Is a Wobbly Table Dangerous?
A minor contact-height wobble on a sound table is usually a nuisance, but sudden movement, cracked wood, a failed weld, loose glass, or a leg that shifts at its joint can create a tipping hazard. Remove the load and stop using the table until the structural fault is repaired.
The Bottom Line
Fixing a wobbly table starts with diagnosis, not a random shim. Move the table to a flat surface, test the legs and joints, then choose a pad for a quick light-duty correction, a leveling glide for repeatable height adjustment, a brace for structural movement, or careful sanding for a confirmed long solid-wood leg. The safest way to fix a wobbly table is to correct the actual cause and verify stability under normal use.