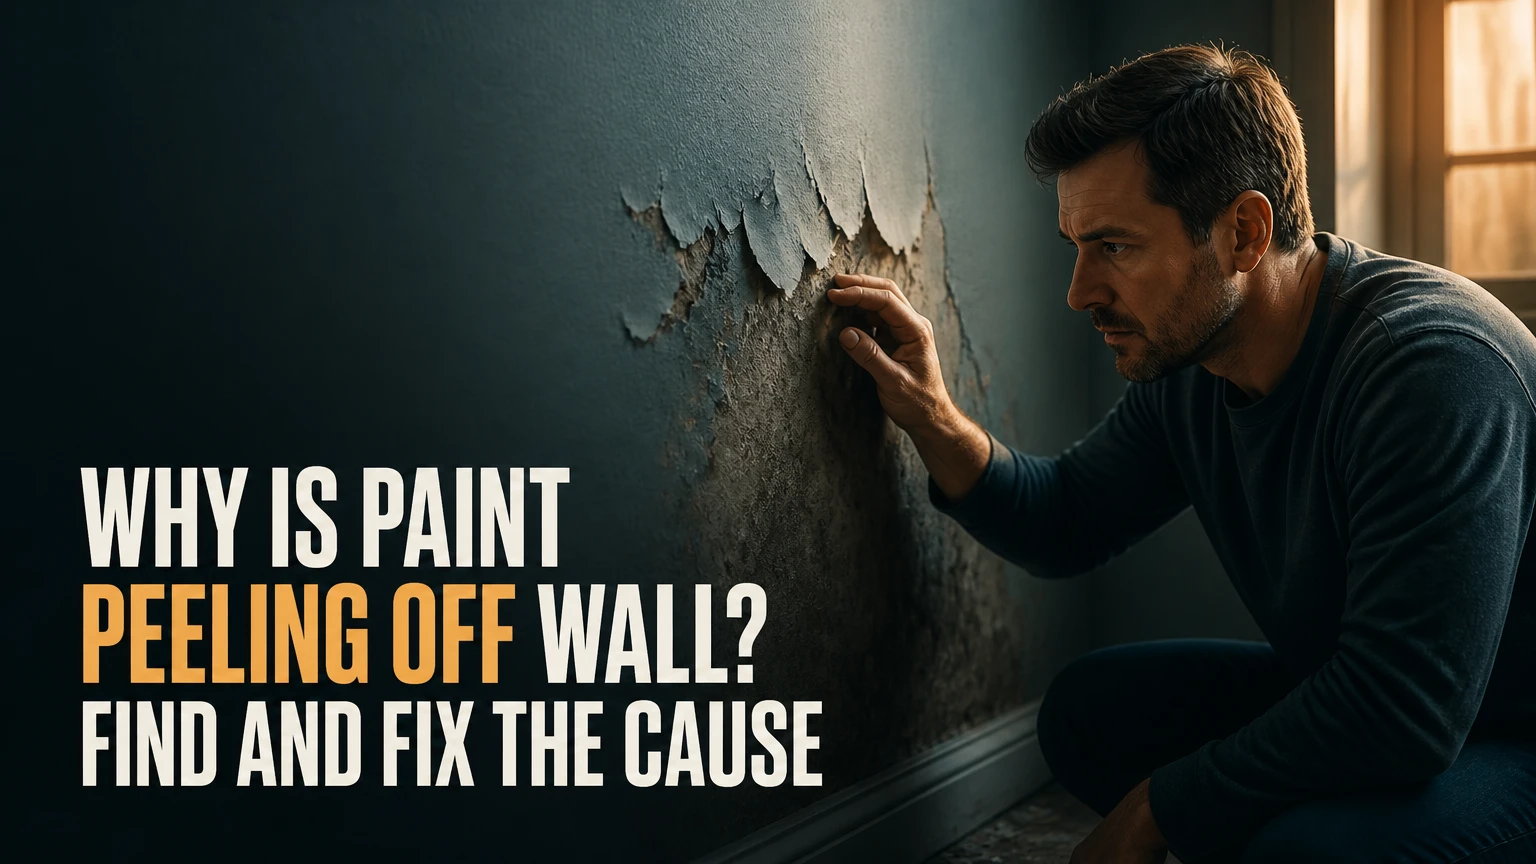
Why Is Paint Peeling Off Wall? Find and Fix the Cause
Paint peels off a wall because the paint film has lost adhesion to the wall or to an older coating beneath it. Moisture, dust, grease, chalky residue, incompatible paint layers, excessive heat, and inadequate surface preparation can break that bond. A lasting repair requires identifying and correcting the cause before scraping, priming, and repainting.
Key Facts at a Glance
- Interior paint peeling is usually an adhesion failure, not simply “old paint.”
- A damp flake, water stain, mildew, or bubbling pattern points toward moisture behind the coating.
- A dry, dusty, powdery surface usually indicates chalking, contamination, or insufficient preparation.
- New paint cannot reliably bond to loose paint, glossy residue, grease, or uncured patching compound.
- Pre-1978 homes may contain lead-based paint; the U.S. Environmental Protection Agency recommends lead-safe practices before disturbing old coatings.
- Typical DIY repair time is 1-3 days, although moisture repairs and full curing can extend the project.
Why Is Paint Peeling Off Wall?
Paint peeling occurs when the coating’s binder cannot maintain a strong bond with the wall or the previous paint layer. The film may have been applied over moisture, dust, soap, oil, powdery old paint, or a glossy finish, while later humidity and temperature changes create movement that lifts the weakened coating.
Paint is a layered system. Drywall paper, joint compound, masonry, primer, and topcoat each have different porosity and movement characteristics. When one layer absorbs water or expands at a different rate from the next, stress concentrates at the weakest interface.
The pattern matters. Peeling around a bathroom exhaust fan, plumbing wall, window, or exterior corner deserves a moisture investigation. Peeling across an entire room after a repaint more often indicates contaminated surfaces, unprimed repairs, incompatible coatings, or a defective application process.
Is moisture the real cause?
Moisture is the leading cause when peeling appears with stains, soft drywall, mildew, efflorescence, or blisters. Water can enter from a plumbing leak, roof or window penetration, a shower enclosure, high indoor humidity, or condensation on a cold exterior wall.
A moisture meter can help compare the damaged area with an unaffected section, but meter readings vary by substrate and instrument. EPA guidance places indoor relative humidity ideally between 30% and 50%; sustained humidity above that range increases condensation and mold risk, especially on poorly insulated walls.
Do not seal a wet wall with primer. The coating may hide the symptom while trapped water continues to weaken drywall paper, framing, or plaster.
What Are the Main Types of Paint Failure?
Peeling, flaking, blistering, and cracking describe different appearances, although one failure can develop into another. Correct identification prevents an unnecessary cosmetic repair when the wall has an active leak or a substrate problem.
| Failure appearance | Typical visual pattern | Likely mechanism | First diagnostic action |
|---|---|---|---|
| Peeling | Large flexible sheets lift from wall | Moisture or weak intercoat adhesion | Inspect flake and wall for dampness |
| Flaking | Small brittle chips detach | Chalky, aged, or poorly sealed surface | Rub exposed paint with a dark cloth |
| Blistering | Rounded bubbles or domes form | Vapor, heat, or wet substrate | Check plumbing, sunlight, and humidity |
| Cracking | Linear splits or alligator pattern | Thick, rigid, incompatible layers | Identify coating age and layer thickness |
| Powdering | White residue transfers to hand | UV or binder breakdown, called chalking | Wipe wall and test residue |
| Efflorescence | White crystalline deposits appear | Salts carried through masonry by water | Trace moisture through masonry |
A clean separation between two dry paint layers suggests intercoat adhesion failure. A flake with dampness, staining, or softened paper suggests a substrate or water problem instead.
How do you distinguish peeling from bubbling?
Peeling is a sheet-like loss of adhesion, while bubbling is a raised pocket caused by pressure beneath the film. A bubble often precedes peeling because vapor or heat stretches the coating until the film ruptures.
Sunlit walls, freshly painted masonry, and bathrooms can produce bubbles without a visible plumbing leak. Nevertheless, recurring bubbles after drying indicate that vapor movement or moisture remains unresolved.
Which Causes Should You Check First?
The fastest diagnosis starts with location, flake condition, and the layer exposed beneath the failure. Inspect the wall before buying paint, because a $40 gallon of paint cannot correct a leak, contaminated surface, or unstable substrate.
| Cause | Diagnostic clue | Common location | Corrective response |
|---|---|---|---|
| Plumbing leak | Damp stain or soft drywall | Below bathroom or kitchen pipes | Repair leak and dry wall completely |
| Condensation | Black spotting or repeated winter peeling | Exterior corners and window reveals | Improve airflow and insulation |
| Shower vapor | Peeling near ceiling or shower | Bathroom walls and ceilings | Repair grout or caulk, run exhaust fan |
| Grease or soap | Smooth dirty film under flake | Kitchen backsplash or bathroom | Degrease, rinse, dry, then sand |
| Chalky old paint | Powder transfers to cloth | Older interior or exterior walls | Remove residue and use masonry or bonding primer |
| Glossy coating | Hard, shiny surface under failure | Trim, doors, oil-painted walls | Dull surface with abrasive and prime |
| Unprimed patch | Peeling outlines a repair | Nail holes and drywall patches | Sand, dust, and seal porous compound |
| Incompatible layers | Clean layer separation | Latex over oil or alkyd | Test, abrade, and apply bonding primer |
| Excessive film thickness | Wrinkles or alligator cracks | Repeated repainting | Remove unstable layers before recoating |
An expert rule of thumb is to map the failure, not merely photograph it. Mark the perimeter with painter’s tape and recheck it after a rainy day, a shower, or a heating cycle. Expansion beyond the marked boundary suggests an active environmental cause.
How Should Peeling Paint Be Repaired?
A durable repair normally takes eight stages: isolate the work area, remove unstable coating, feather the edges, patch the substrate, sand, clean, prime, and apply two thin finish coats. The success factor is not the brand of paint; it is whether the remaining surface is dry, clean, stable, and compatible with the new primer.
Before You Start
| Item | Typical requirement | USA DIY range or specification |
|---|---|---|
| Work time | Scraping, patching, painting | 4-8 labor hours |
| Calendar time | Drying between stages | 1-3 days |
| Protective equipment | Respirator, goggles, gloves | N95 for dust; lead controls for pre-1978 coatings |
| Abrasives | Sandpaper or sanding screen | 80, 120, and 220 grit |
| Scraper | Flexible putty knife or stripping knife | 1.5-3 inches wide |
| Primer | Bonding or stain-blocking product | 1 gallon covers about 300-400 square feet |
| Finish paint | Interior acrylic-latex topcoat | 1 gallon covers about 350-400 square feet per coat |
| Cleaning supplies | Detergent, water, rags, drop cloth | $15-$45 typical |
Step 1: Find and Correct the Cause
Stop the leak, reduce condensation, repair failed caulk, or improve bathroom ventilation before disturbing the coating. Let the wall dry, and replace water-damaged drywall when the paper is swollen, delaminated, or moldy over a broad area.
You will know the cause is controlled when the moisture source has been repaired and the wall remains dry through at least one normal humidity cycle. A common mistake is applying stain-blocking primer over a still-wet stain; the discoloration may return and the new film may peel.
Step 2: Contain Dust and Test Older Paint
Cover floors and furniture, close doors, and avoid dry sanding unknown coatings in a pre-1978 home. The EPA’s Renovation, Repair and Painting Rule applies to many paid renovation projects involving lead-based paint in homes built before 1978.
Use a lead test kit or hire a certified risk assessor when the building age and coating history are uncertain. Lead-safe containment is more important than speed.
Step 3: Scrape Every Loose Section
Use a sharp stripping knife to remove paint that lifts, cracks, bubbles, or sounds hollow when lightly tapped. Stop when the remaining coating resists firm scraping; do not gouge sound drywall paper or plaster.
Use 80-120 grit abrasive paper to reduce ridges after scraping. You will know the section is stable when pressing its edges does not create a new crack or lift. Painting over loose paint adds weight and often enlarges the failure.
Step 4: Feather the Edges and Patch the Wall
Sand the border into a tapered transition rather than leaving a sharp step. Apply joint compound to shallow drywall depressions, use setting-type compound for deeper repairs, and choose a compatible masonry patch for concrete or block.
Allow compound to dry according to its label, commonly 2-24 hours depending on thickness, temperature, and humidity. A common mistake is sanding damp filler, which tears the surface and leaves a weak porous edge.
Step 5: Sand the Repaired Area
Start with 120 grit to level ridges and finish with 180-220 grit for a smooth transition. Do not polish the wall to a glass-like finish, because many primers bond better to a clean, lightly abraded surface than to an excessively burnished one.
Run a hand across the repair with the lights angled across the wall. The surface should feel continuous, with no paint lip or raised patch. Use a sanding sponge on corners and a pole sander for broad areas.
Step 6: Remove Dust, Grease, and Residue
Vacuum loose dust, wash greasy or soapy areas with a suitable household detergent, rinse with clean water, and allow the wall to dry. A damp cloth alone may spread kitchen oil or bathroom residue instead of removing it.
A dark microfiber cloth provides a practical dust test. If it picks up visible white residue after cleaning, vacuum and wipe again before priming.
Step 7: Choose and Apply the Correct Primer
Use a drywall or high-adhesion primer for porous repairs, a stain-blocking primer for water marks, and a bonding primer for glossy or uncertain coatings. A peel-stop or consolidating primer can lock down sound but slightly porous edges; it cannot stabilize paint that is actively lifting.
| Wall condition | Primer type | Typical coats | Recoat window |
|---|---|---|---|
| New joint compound | Drywall primer | 1 | 1-4 hours |
| Water stain after drying | Shellac or oil stain blocker | 1-2 | 45 minutes to 24 hours |
| Glossy alkyd or oil paint | Waterborne bonding primer | 1 | 1-4 hours |
| Chalky masonry | Masonry conditioner or sealer | 1 | 4-24 hours |
| Stable peeled edge | Peel-stop consolidating primer | 1-2 | 2-4 hours |
| Bathroom repaint | Mildew-resistant interior primer | 1 | 2-4 hours |
Apply primer to the entire repaired zone and extend beyond the visible patch where the old coating is porous or chalky. Follow the product label rather than relying on a generic drying time.
Step 8: Repaint With Compatible Finish Coats
Apply two thin, even coats of the same coating family recommended by the primer manufacturer. Maintain the label’s temperature, humidity, and recoat requirements, and avoid painting below 50°F or above 90°F unless the product specifically permits it.
Typical waterborne interior paint is ready for a second coat after 2-4 hours, but full hardness can take 7-30 days. The wall may look dry before the film has developed its final adhesion and scrub resistance.
Which Primer and Repair Approach Fit the Wall?
The correct repair system depends on the substrate and the cause, not on the word “peeling” alone. A bonding primer improves adhesion over a sound difficult surface, while a stain blocker controls discoloration and a consolidating primer binds porous edges.
| Surface or problem | Best repair system | Product limitation | Typical decision |
|---|---|---|---|
| Bare drywall paper | Drywall primer | Does not repair torn paper | Seal before finish paint |
| Oil-based coating | Bonding primer | Requires cleaning and abrasion | Test adhesion first |
| Water stain | Shellac or oil stain blocker | Requires dry substrate | Correct leak before coating |
| Powdery masonry | Masonry sealer | May not hide active salts | Trace water movement |
| Sound peeling edge | Peel-stop product | Cannot replace scraping | Use after loose paint removal |
| Mold-contaminated surface | Remediation and primer | Paint does not kill the source | Remove moisture and contamination |
Do not assume “latex over oil” is always the cause. Modern acrylic coatings can bond to many older surfaces when the surface is cleaned, dulled, and primed. The failure usually comes from skipping those preparation steps.
Can You Repair Bathroom or Kitchen Peeling Paint?
Bathroom and kitchen paint requires moisture control before coating selection. Use an exhaust fan vented outdoors, remove soap and grease, repair failed caulk or grout, and repaint only after the wall is dry.
The U.S. Department of Energy recommends controlling indoor moisture and using exhaust ventilation in moisture-producing rooms. A timer-controlled bathroom fan that runs for roughly 20-30 minutes after bathing can reduce vapor exposure, although fan capacity and duct condition determine actual performance.
For mold, do not simply encapsulate visible growth with paint. Small surface areas may be cleaned according to product directions, but extensive growth, porous drywall contamination, sewage exposure, or hidden moisture warrants professional remediation.
How Much Does Peeling-Paint Repair Cost in the USA?
A small DIY patch typically costs $30-$150, while a professional repair and repaint commonly costs $300-$1,500 for one room. Actual price depends on damaged area, ceiling height, lead controls, water repairs, furniture moving, and whether the whole room needs coating.
| Repair scope | DIY materials | Professional USA range | Typical duration |
|---|---|---|---|
| One small wall patch | $30-$75 | $200-$500 | 4-8 hours over 1-2 days |
| Several patches in one room | $60-$180 | $400-$900 | 1-3 days |
| Full 12-by-12-foot room | $120-$300 | $500-$1,500 | 2-4 days |
| Water-damaged drywall section | $100-$350 | $700-$2,500 | 2-5 days |
| Lead-safe preparation | $150-$500 DIY controls | $1,000-$4,000 | 2-7 days |
These are typical USA planning ranges, not bids. A quote that includes moisture diagnosis, drywall replacement, primer, two finish coats, containment, and cleanup is not directly comparable with a quote for painting alone.
What Mistakes Make Paint Peel Again?
Most repeat failures come from coating an unstable or contaminated surface. The following recovery rules address the errors that cause the largest amount of rework.
- Painting over flaking edges: Scrape until the perimeter is firm, then feather it.
- Skipping primer on patches: Joint compound absorbs paint unevenly and creates weak, flashing areas.
- Using stain-blocker as a leak repair: Primer blocks discoloration, not water migration.
- Repainting during high humidity: Extend drying time and use ventilation rather than adding another coat.
- Applying thick coats: Thick films dry unevenly and can crack over flexible or porous layers.
- Sanding without removing dust: Vacuum and wipe because abrasive residue forms a release layer.
- Using the wrong exterior product indoors: Exterior formulations may have different odor, cure, and ventilation requirements.
- Ignoring lead risk: Test suspect pre-1978 coatings before scraping or sanding.
A counterintuitive practitioner rule is that a small repair can require repainting the entire wall. Even a correctly feathered patch may show through at an angle because paint color, sheen, and texture vary across the old film.
When Should You Call a Professional?
Call a professional when peeling covers more than about 25% of a room, returns after one properly prepared repair, involves a ceiling with active water damage, or appears with soft drywall, structural movement, or extensive mold. Hire an EPA-certified lead-safe contractor for regulated renovation work in pre-1978 homes.
| Situation | Why DIY may be unsuitable | Appropriate professional |
|---|---|---|
| Active ceiling leak | Electrical and structural hazards | Roofer, plumber, or water-restoration firm |
| Widespread mold | Hidden contamination may remain | Mold-remediation contractor |
| Pre-1978 painted surfaces | Dust can expose occupants to lead | EPA lead-safe certified renovator |
| Repeated exterior-wall peeling | May involve flashing or masonry water | Building-envelope contractor |
| Cracks over 1/8 inch | Movement may continue beneath paint | Drywall or structural specialist |
| Large commercial or rental area | Containment and documentation requirements | Licensed painting contractor |
Professional help is not automatically better for a dry, localized patch. A homeowner with sound substrate, safe coating conditions, and time for full drying can usually complete a small interior repair successfully.
How Can You Prevent Paint From Peeling?
Prevent peeling by controlling water, preparing every substrate, matching primer to the surface, and respecting application conditions. Inspect caulk, plumbing connections, exhaust fans, exterior penetrations, and high-humidity rooms at least twice each year.
Keep indoor relative humidity near 30%-50% when practical, use exhaust ventilation during bathing and cooking, and wipe condensation from cold windows and walls. Maintain exterior paint and sealant before exposed wood or masonry absorbs repeated rain.
Buy enough product to complete the job from the same batch when color matching matters. Record the paint brand, color, sheen, primer, and application date inside a cabinet or utility area for future repairs.
FAQ
Can I paint over peeling paint if the area is small?
No. Even a small loose edge can continue lifting beneath a new coat. Scrape the unstable paint, feather the perimeter, patch defects, clean dust, and prime the exposed substrate before repainting. A cosmetic spot coat is acceptable only when the surrounding film is firmly bonded and the transition is properly sanded.
Why is paint peeling from drywall but not plaster?
Drywall has a paper face and porous joint compound that can absorb moisture and delaminate, while plaster is mineral-based and often fails through cracking, salts, or intercoat adhesion. Torn drywall paper requires sealing or replacement; painting over it directly commonly causes bubbling and visible texture.
Will vinegar stop paint from peeling?
No. Vinegar may help with limited mineral residue or odor, but it cannot repair failed adhesion, remove all grease, or stop moisture movement. Use a substrate-appropriate cleaner, rinse the wall, let it dry, and correct the underlying leak or humidity problem before priming.
How long should I wait before putting furniture against a repainted wall?
Wait at least 24-48 hours before placing furniture close to a waterborne painted wall, and leave several inches of airflow around the surface. Full cure may take 7-30 days, so avoid scrubbing, taping, or tightly pressing objects against the coating during that period.
Does a dehumidifier fix peeling bathroom paint?
A dehumidifier can reduce indoor humidity, but it does not repair a leak, failed shower seal, blocked exhaust duct, or wet drywall. Use humidity control with source repairs and ventilation. If the wall remains damp or the coating fails again, investigate behind the visible damage.
The Bottom Line
Why is paint peeling off wall? The paint film has lost adhesion because moisture, contamination, incompatible layers, surface movement, or inadequate preparation has weakened the bond. Identify that cause first, then remove loose coating, feather and repair the surface, clean it, apply the correct primer, and repaint under suitable conditions. A careful repair lasts; a new coat over unstable paint only delays the next failure.