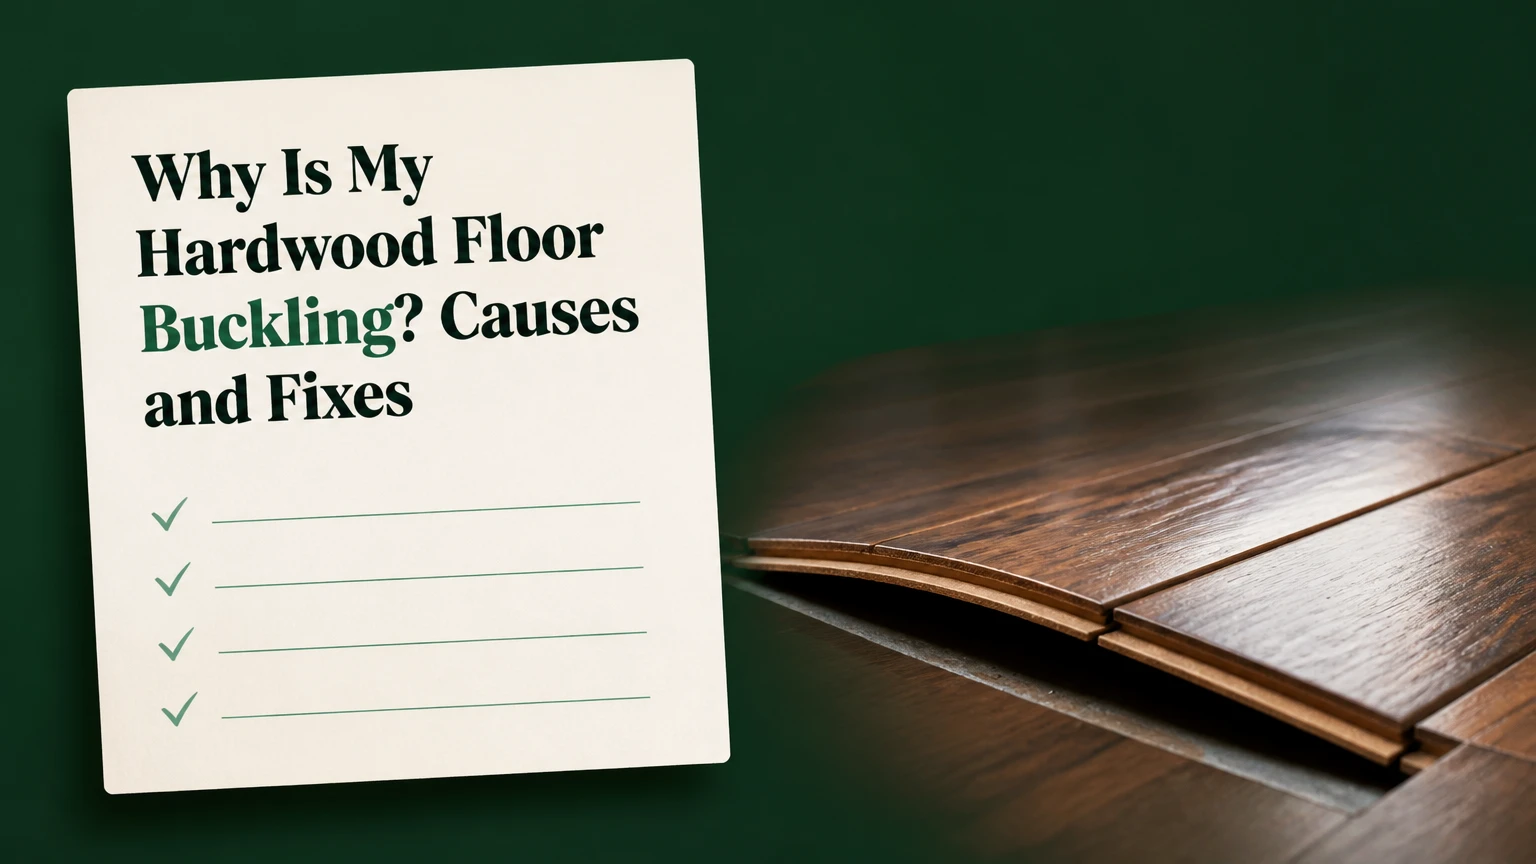
Why Is My Hardwood Floor Buckling? Causes and Fixes
Hardwood floor buckling usually means moisture has swollen the boards while installation or fasteners restrained their sideways movement. The accumulated compression force then lifts boards from the subfloor, creating peaks, tents, or waves. A leak, high indoor humidity, slab vapor, crawlspace moisture, or missing expansion space can initiate the failure.
Key Facts at a Glance
- Hardwood floor buckling requires both excess moisture and insufficient movement relief or attachment strength.
- A floor that lifts near a dishwasher, refrigerator, toilet, exterior door, or plumbing wall needs leak investigation first.
- Typical indoor relative humidity for wood flooring is 30%-50%, although the flooring manufacturer’s instructions control.
- Do not sand, nail, screw, or heavily weight a wet floor until the moisture source and subfloor condition are known.
- A minor, recently stopped event may respond to controlled drying; detached, split, moldy, or rotten flooring usually needs removal.
- Expansion gaps are commonly about 3/8-3/4 inch at exposed room boundaries, but the required dimension varies by product, room width, and manufacturer.
Why Is My Hardwood Floor Buckling?
Hardwood floor buckling occurs when swollen planks press against one another until the floor assembly releases pressure by lifting upward. Wood absorbs water vapor and liquid water through its end grain, side grain, joints, and unfinished underside; the resulting width expansion can overwhelm nails, staples, adhesive, or subfloor connections.
The National Wood Flooring Association describes wood as “a hygroscopic material,” meaning wood exchanges moisture with surrounding air. That property is normal, but rapid moisture gain is not. Solid boards generally move more across their width than along their length, while engineered boards reduce movement through cross-layer construction without becoming waterproof.
Buckling is therefore a system failure, not merely a finish defect. The moisture source may be active, intermittent, or historical, and the installation may have lacked perimeter clearance before the first leak occurred.
What Does the Buckling Pattern Reveal?
The location and timing of the raised area often identify the cause. A narrow peak at a wall suggests compression at the perimeter, while a broad wave near a kitchen appliance suggests liquid water or saturated underlayment. A whole-room change during humid weather points toward indoor RH, crawlspace air, or slab vapor.
Check adjacent materials. Swollen baseboards, darkened seams, stained cabinets, musty odors, and soft subflooring increase the probability of water damage rather than a simple installation gap problem.
| Observation | More likely cause | First inspection | Typical urgency |
|---|---|---|---|
| Peak beside dishwasher | Supply or drain leak | Cabinet floor and shutoff valve | Same day |
| Tent near exterior door | Rain intrusion or tight edge | Threshold, flashing, perimeter gap | Same day |
| Whole-room summer heave | High RH or crawlspace moisture | Hygrometer and crawlspace | 24-72 hours |
| Wave over concrete slab | Vapor transmission or plumbing leak | Slab moisture test and plumbing check | 24 hours |
| Isolated hump after installation | Missing gap or debris | Baseboard and transition removal | 1-7 days |
How Can You Tell Buckling From Cupping?
Buckling lifts a group of boards or part of the floor assembly, whereas cupping changes the cross-sectional shape of individual boards. Crowning reverses the cupped profile and often appears after a wet floor has dried unevenly or after someone sands it before moisture equalizes.
The terms matter because repair timing differs. A cupped floor may flatten as moisture balances, but severe buckling can damage tongues, grooves, fasteners, adhesive, subfloor panels, and joists.
| Condition | Board profile | Common moisture pattern | Typical repair implication |
|---|---|---|---|
| Cupping | Edges higher than center | Underside wetter than top | Dry and remeasure before sanding |
| Crowning | Center higher than edges | Top or center moisture history changed | Do not sand until MC stabilizes |
| Buckling | Boards lift or detach | Swelling plus restraint | Remove restraint and inspect attachment |
| Gapping | Visible spaces between boards | Excessive drying or low RH | Restore humidity; replace only if damaged |
| Peaking | Raised ridge along board joints | Compression between rows | Check gaps, moisture, and fasteners |
A floor can have more than one condition. For example, a dishwasher leak can first cause cupping, then produce buckling when the swollen boards encounter a wall or cabinet.
Which Moisture Sources Cause Buckling?
The principal sources are liquid leaks, moisture vapor from below, and sustained high relative humidity. A moisture meter helps locate abnormal areas, but meter readings are screening evidence rather than proof of the exact source.
Common USA household sources include:
- Dishwasher hoses, refrigerator ice-maker lines, washing-machine connections, and water-heater pans.
- Toilet seals, shower assemblies, supply valves, and plumbing inside partition walls.
- Basement or slab vapor, especially after construction, flooding, or poor drainage.
- Crawlspaces with exposed soil, standing water, inadequate ventilation, or missing ground vapor control.
- HVAC condensate leaks, overcooling that creates condensation, and humidifiers set too high.
- Repeated wet mopping or steam cleaning, which drives water into joints and unfinished edges.
Use a hygrometer in the room and compare readings with a room that has no floor damage. Then map the floor using a pin or pinless moisture meter, following the instrument manufacturer’s species and calibration guidance.
What Readings Should You Record?
Typical interior wood flooring moisture content is often around 6%-9% in many conditioned USA homes, but the correct installation target depends on regional equilibrium moisture content, species, product construction, and manufacturer instructions. A universal 2%-4% subfloor-to-board difference is not a safe substitute for the flooring manufacturer’s installation specification.
| Measurement | Practical screening range | What it tells you | Limitation |
|---|---|---|---|
| Indoor RH | 30%-50% | Ambient moisture stress | Does not locate a leak |
| Indoor temperature | 60-75°F | HVAC stability | Temperature alone cannot dry wet wood |
| Solid wood MC | Often 6%-9% | Board moisture condition | Species and region alter the target |
| Concrete RH | Product-specific, often no higher than 75%-85% | Slab vapor condition | Test method and adhesive rules matter |
| Perimeter gap | Commonly 3/8-3/4 inch | Movement accommodation | Room size may require more |
Record date, location, meter setting, RH, temperature, and readings at the surface and exposed subfloor. A professional may use ASTM F2170 in-situ slab RH testing, calcium chloride testing where permitted, or carbide testing, depending on the installation system.
Can a Missing Expansion Gap Cause Heaving?
A missing or obstructed expansion gap can cause heaving when moisture makes the boards wider. The gap must remain continuous at walls, cabinet bases, door jambs, stair edges, pipes, and transitions, with baseboards or shoe molding concealing the space.
Installers commonly leave about 3/8-3/4 inch around room boundaries, but a large room, wide plank, high seasonal moisture swing, or specific product may require a different clearance. Cabinets can create hidden restraint because flooring installed tight beneath fixed cabinetry has nowhere to expand.
Remove a small section of baseboard near the highest peak. Look for flooring pressed directly against drywall, framing, plaster, cabinet toe-kicks, or door casings. A tight transition strip can create the same problem in the middle of a room.
Relief cutting can solve a dry, structurally sound floor with trapped perimeter pressure. It cannot repair rotten subflooring, mold contamination, broken boards, or an active leak.
What Should You Do in the First 24 Hours?
Stop the water, protect people from the trip hazard, document the damage, and begin controlled drying without applying concentrated heat. The first day determines whether a localized repair remains possible or whether moisture spreads into the subfloor and adjacent rooms.
Step 1: Stop the Source
Close the appliance valve or household water supply when necessary. Do not disconnect electrical appliances while standing in water; shut off power at the breaker only if doing so is safe, or call an electrician.
Step 2: Remove Surface Water
Blot standing water with towels or a wet vacuum suitable for the task. Do not flood the floor with disinfectant, bleach, or additional cleaning water.
Step 3: Photograph and Map
Photograph the peaks, nearby appliances, baseboards, transitions, stains, and meter readings. Insurance carriers and restoration contractors commonly need dated evidence of the source and mitigation.
Step 4: Control the Room
Set HVAC equipment to normal operation, add air movers across the surface, and use a dehumidifier sized for the room. Avoid propane heaters, hair dryers, heat guns, and direct sunlight.
Step 5: Arrange Inspection
Call a flooring professional or water-mitigation contractor when the buckling covers several rows, the floor feels soft, the subfloor is wet, or mold odor appears.
You will know initial containment worked when the source is inactive, RH begins falling toward 30%-50%, and repeated moisture readings stop rising. A lower surface reading does not prove that the underside or subfloor is dry.
Which Repair Matches the Damage?
Drying and perimeter relief suit minor, stable damage; plank replacement suits localized irreversible damage; full reconstruction suits wet, detached, rotten, or structurally compromised assemblies. Repair selection should follow moisture testing and attachment inspection rather than visual appearance alone.
| Repair approach | Suitable damage | Typical USA cost | Typical duration |
|---|---|---|---|
| Controlled drying | Small area, intact boards | $150-$400 equipment rental | 3-7 days |
| Perimeter relief cut | Dry boards, blocked edge | $300-$1,200 | 1 day |
| Local plank replacement | Split or permanently distorted boards | $180-$550 small spot | 1-2 days |
| Larger section replacement | Multiple damaged rows | $5-$20 per square foot | 2-5 days |
| Subfloor reconstruction | Rot, mold, structural wetting | $2,500-$7,000+ per room | 4-10 days |
When Is Drying and Weighting Appropriate?
Controlled drying may help when a small buckle followed a resolved spill, boards remain attached, the subfloor is sound, and readings steadily decline. Professionals may place broad, protected weights over a slightly raised section after excess water has been removed, but concentrated weights can crush edges or transfer pressure to a weak subfloor.
Do not force the boards flat while they are still expanding. Drying must be gradual enough to limit checking, finish failure, and new gaps.
When Does Relief Cutting Work?
Relief cutting works when the floor is pressing against a wall or fixed obstruction and the boards are otherwise dry and intact. A contractor removes baseboard, identifies the blocked edge, and cuts a controlled clearance with a jamb saw or oscillating tool.
Cutting blindly can damage wiring, plumbing, drywall, cabinets, or the floor’s finished surface. Relief cutting also fails when the buckle originates at a wet slab, rotted plywood, failed adhesive, or a structural joist problem.
When Is Plank Replacement Necessary?
Replace individual boards when they remain twisted, split, delaminated, stained, or detached after moisture content stabilizes. A flooring professional typically cuts damaged boards lengthwise, removes them without damaging adjacent tongues, dries the cavity, and installs matching material.
New boards may differ in color because ultraviolet exposure changes older flooring. Blending may require sanding and refinishing a larger visual section rather than coating only the replacement plank.
Do Solid and Engineered Floors Fail Differently?
Solid and engineered hardwood can both buckle, but engineered construction often limits dimensional movement while introducing delamination and adhesive-failure risks. Solid wood more commonly develops pronounced width-related cupping and may require more perimeter accommodation.
| Floor construction | Moisture behavior | Common failure | Repair concern |
|---|---|---|---|
| 3/4-inch solid oak | Strong width movement | Cupping and compression heave | Board replacement can expose color mismatch |
| 5/8-inch engineered oak | Lower movement across width | Delamination or joint lift | Wear-layer thickness limits sanding |
| Factory-finished solid | Finish protects surface, not underside | Hidden edge swelling | Replacement finish may not match |
| Floating engineered floor | Assembly moves as a unit | Broad tenting or shifting | Underlayment and perimeter gaps matter |
A floating engineered floor may lift because the entire field is restrained by trim, cabinets, or a transition. Nailed solid flooring may release by pulling fasteners from the subfloor. The visible symptom is similar, but the repair method is not.
Why Is Premature Sanding a Mistake?
Premature sanding removes material from a floor that may later shrink, creating permanent hollows and uneven board thickness. The correct sequence is source control, drying, moisture-content stabilization, attachment inspection, and only then sanding or refinishing.
The same principle applies to crowning. A cupped board should not be sanded flat while its top and bottom moisture levels differ significantly. Once the floor equilibrates, the board may change shape again.
What Mistakes Make Damage Worse?
- Sanding wet peaks: creates low areas after drying.
- Applying direct heat: causes surface checking, finish blistering, and rapid gradients.
- Driving screws through finished boards: creates visible damage and may miss weak subfloor areas.
- Replacing boards before drying: traps moisture beneath new material.
- Ignoring crawlspaces: allows vapor and mold conditions to persist below the repair.
- Steam cleaning repeatedly: adds water at seams and can damage finish systems.
One practitioner rule is to treat a falling meter reading as progress, not clearance. Clearance requires readings that stabilize across the board, underside, and subfloor.
How Much Does Hardwood Floor Repair Cost?
Typical USA hardwood floor repair costs range from $150 for limited drying equipment to more than $7,000 for a room requiring floor and subfloor reconstruction. Labor rates, access, flooring species, finish matching, geographic market, demolition, mold treatment, and plumbing repairs can change the total substantially.
| Cost component | Typical USA range | Main price driver | Often excluded |
|---|---|---|---|
| Moisture inspection | $75-$300 | Number of rooms and tests | Plumbing repair |
| Water mitigation | $500-$3,000 | Water volume and drying days | Floor replacement |
| Spot board repair | $180-$550 | Area and finish matching | Cabinet removal |
| Refinishing affected room | $1,500-$4,500 | Square footage and coating | Subfloor work |
| Subfloor replacement | $3-$10 per square foot | Plywood, access, joist condition | Mold remediation |
Insurance may cover sudden accidental water damage, such as a burst supply line, while long-term seepage, neglected maintenance, or repeated humidity damage may be excluded. Review the policy, photograph everything, and keep invoices before removing more flooring than needed.
What Should You Document for Insurance?
Document the water source, date discovered, affected materials, mitigation steps, contractor findings, and every moisture measurement. Insurance documentation is strongest when photographs connect the source to the damaged flooring and show that reasonable steps were taken to prevent further loss.
Keep appliance model information, plumber reports, drying-equipment invoices, flooring installation records, and repair estimates. Do not discard damaged boards until the adjuster or insurer gives permission when a claim is likely.
When Does a Buckled Floor Need Replacement?
Replacement is usually necessary when boards are permanently distorted, detached over a broad area, delaminated, biologically contaminated, or installed over a damaged subfloor. A floor does not need total replacement merely because one small section rose after a contained spill.
A professional should open an inspection area when the floor feels spongy, plywood edges crumble, fasteners have pulled through, black or green growth is visible, or moisture remains elevated after several drying days. Structural joist movement, foundation settlement, and plumbing leaks require trades beyond a flooring installer.
Is the Subfloor Still Safe?
A plywood subfloor should remain firm, dimensionally stable, and free of rot after drying. Concrete should be evaluated for moisture vapor, cracks, plumbing leaks, and adhesive compatibility before new flooring is installed.
Do not install replacement hardwood over a subfloor that has merely dried at the surface. The underlying assembly must meet the product’s moisture and flatness requirements, and the new flooring must acclimate according to its manufacturer’s instructions.
How Can You Prevent Another Failure?
Prevent recurrence by controlling indoor humidity, maintaining plumbing connections, preserving movement gaps, and checking below-floor moisture. Prevention works only when both the moisture source and the installation restraint are corrected.
- Keep a digital hygrometer in rooms with wood flooring.
- Maintain indoor RH near 30%-50% through seasonal HVAC operation.
- Inspect dishwasher, refrigerator, washing-machine, and toilet connections twice yearly.
- Keep crawlspace soil covered with an appropriate ground vapor retarder and correct drainage problems.
- Never install flooring tight against walls, cabinets, pipes, or transitions.
- Follow the product’s acclimation and moisture-testing instructions instead of relying on a fixed 48-hour rule.
- Use manufacturer-approved cleaning products with a lightly damp method, not a saturated mop or steam cleaner.
- Leave replacement boards in the conditioned installation area only for the period specified by the manufacturer and NWFA-aligned installer.
A counterintuitive field observation is that a dry-looking surface can conceal a wetter underside. Moisture meters, subfloor access, and source tracing provide better evidence than appearance.
How Long Should a Repair Take?
A small drying project commonly takes 3-7 days, a perimeter relief repair often takes one day, and localized board replacement usually takes 1-2 days before finish blending. Reconstruction can take 4-10 days, followed by additional drying, acclimation, sanding, and coating time.
| Project stage | Typical duration | Completion condition |
|---|---|---|
| Source isolation | 1-8 hours | Leak stopped or humidity controlled |
| Initial extraction | 2-12 hours | Standing water removed |
| Structural drying | 3-7 days | Readings stabilize |
| Board replacement | 1-2 days | Sound, dry substrate exposed |
| Finish blending | 2-5 days | Coating cures per product label |
The visible repair may finish before the floor is ready for normal use. Follow finish cure times, avoid rugs until the coating allows them, and restore furniture gradually to prevent trapping residual moisture.
Frequently Asked Questions
Can a hardwood floor buckle without a plumbing leak?
Yes. High indoor humidity, slab vapor, crawlspace moisture, wet mopping, condensation, and rain entering at a door can buckle hardwood without a pressurized plumbing failure. Compare room RH, inspect below the floor, and map moisture across the damaged and undamaged areas to separate ambient exposure from a localized source.
Will a buckled hardwood floor go back down by itself?
A small buckle may reduce as the wood dries, but a detached or severely distorted floor rarely returns perfectly flat without intervention. Wait for moisture stabilization before judging the final shape, because forcing wet boards down can damage tongues, fasteners, adhesive, and the subfloor.
Can I fix a buckled floor with screws?
Screws are not a reliable first repair because they can puncture plumbing or wiring, split boards, and conceal an unresolved moisture problem. A professional should verify dry material, adequate subfloor strength, and a corrected expansion path before selecting fasteners or replacement methods.
Does mopping cause hardwood floor buckling?
Repeated saturated mopping can contribute to swelling, especially at board joints, unfinished edges, damaged finish, and transitions. A properly finished floor should be cleaned with a manufacturer-approved, lightly damp method, followed by prompt drying rather than standing water.
Should I call a plumber or a flooring contractor first?
Call a plumber first when the floor is wet near an appliance, fixture, supply line, or plumbing wall. Call a flooring or water-mitigation professional when the source is stopped but the floor remains raised, soft, musty, or visibly separated from the subfloor.
The Bottom Line
Why is my hardwood floor buckling? Moisture has usually expanded the wood while perimeter restraint, inadequate acclimation, failed fasteners, adhesive loss, or subfloor conditions prevent normal movement. Stop the source, document the area, measure RH and moisture, dry the assembly without direct heat, and choose relief cutting, board replacement, or reconstruction only after the substrate is sound.