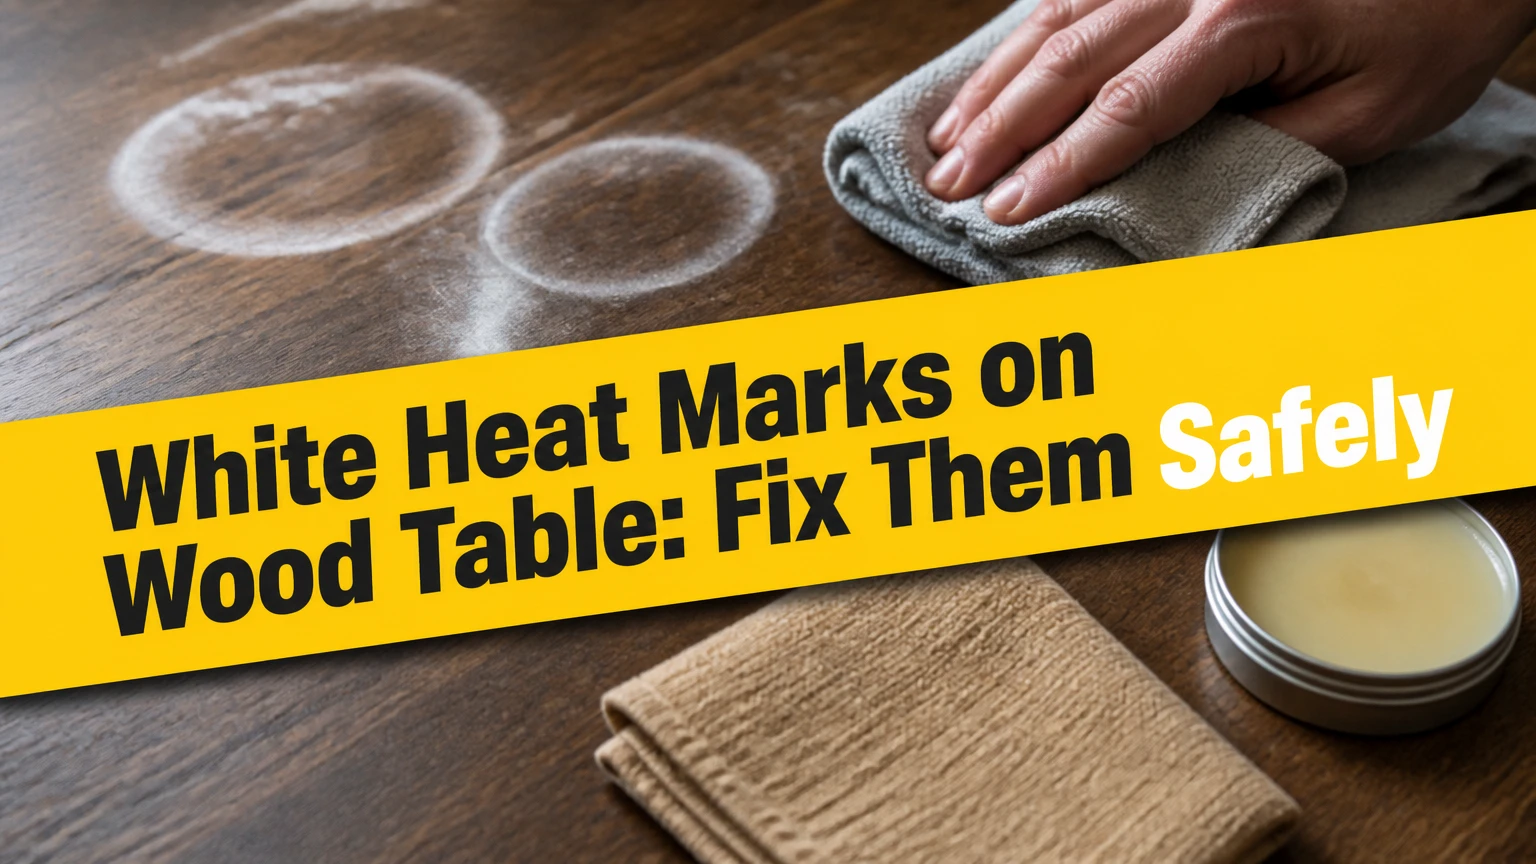
White Heat Marks on Wood Table: Fix Them Safely
White heat marks on a wood table are cloudy areas in the clear finish, usually caused by heat, condensation, or both. Start with gentle dry heat from a hairdryer, then escalate only if needed; most recent white rings can improve without sanding, while black scorch marks, bubbling, veneer damage, and antique finishes require different treatment.
Key Facts at a Glance
A white heat ring usually affects the finish above the wood rather than the wood fibers themselves.
A hairdryer on medium heat, held about 6-10 inches away, is the lowest-risk heat treatment.
A dry iron can work in short, moving passes, but stationary heat can melt lacquer or scorch wood.
Mayonnaise and petroleum jelly may improve light marks, but neither reliably removes deeply clouded finish.
Toothpaste and baking soda are abrasives that can permanently dull a satin or high-gloss surface.
Black discoloration, blistering, loose veneer, or a valuable antique calls for professional assessment.
What Causes White Heat Marks on Wood Tables?
A white heat mark forms when a table’s finish loses optical clarity after exposure to heat and moisture. The finish may soften, swell microscopically, or develop tiny voids that scatter light, so the area appears milky or opaque instead of transparent.
Wood tables commonly use polyurethane, lacquer, shellac, varnish, hardwax oil, or a factory-applied conversion coating. A hot pizza box, warm serving dish, wet mug, or damp placemat can create enough heat and condensation to disturb that coating, particularly when the surface is older or already worn.
The popular explanation that water becomes trapped under the finish is useful but incomplete. Some white rings involve moisture; others are caused by microscopic finish deformation, loss of adhesion, or a temporary “blush” in lacquer. The visible symptom is similar, but the repair response differs.
| Visible condition | Most likely cause | Safe first response | Escalation point |
|---|---|---|---|
| Milky white ring with intact sheen | Finish blush or moisture-related clouding | Hairdryer, medium setting, 6-10 inches away | No change after 2-3 attempts |
| White rectangular patch | Hot box, dish, or appliance contact | Gentle dry heat over the full patch | Finish feels rough or raised |
| Dark brown or black mark | Scorching, chemical reaction, or deep water damage | Stop heating and inspect | Sanding or professional refinishing |
| Bubbled or lifted clear coat | Finish adhesion failure | Keep dry and avoid rubbing | Furniture repair professional |
| White scratches that follow grain | Abrasion through the finish | Clean and assess, do not heat first | Color-matched touch-up |
Are white and black wood stains the same?
White and black marks are not equivalent. A white mark generally indicates a surface-finish problem, while a black mark can indicate charred fibers, prolonged moisture intrusion, tannin reaction, or corrosion from metal and moisture.
The color alone does not prove the diagnosis. A black ring beneath an intact finish may be deep water staining, and a white patch may be a scratched or chemically clouded coating rather than trapped water. Texture, shape, timing, and whether the grain remains visible provide better evidence.
Can You Remove White Heat Marks Without Refinishing?
Most recent white rings can be reduced or removed without refinishing when the finish remains continuous and the wood is not darkened or swollen. The safest sequence is gentle dry heat, a finish-compatible commercial product, and professional repair only after the first two options fail.
Before treating the visible area, inspect the table under angled light. Run a clean fingertip across the mark, checking for a ridge, tackiness, roughness, or a soft spot. If the finish is lifting, do not apply heat or abrasive paste.
Test every treatment on an inconspicuous location, such as the underside of the tabletop or the back edge. This test matters because two tables with the same wood species may have different coatings, and lacquer, shellac, polyurethane, and hardwax oil respond differently.
| Check before treatment | What to observe | Meaning | Recommended decision |
|---|---|---|---|
| Color | White, gray, brown, or black | Indicates likely finish clouding or deeper damage | Heat only for white or pale gray marks |
| Texture | Smooth, sticky, rough, bubbled | Shows whether coating is intact | Avoid DIY heat on bubbles or tackiness |
| Grain visibility | Clear, hazy, or hidden | Shows depth of optical disturbance | Hazy grain usually permits staged treatment |
| Edge shape | Ring, rectangle, smear, or scratch | Connects damage to the object placed there | Match treatment to contact pattern |
| Finish sheen | Matte, satin, semi-gloss, or gloss | Determines abrasion visibility | Avoid abrasive paste on gloss finishes |
How Should You Remove a White Heat Mark?
Remove a white heat mark by progressing from low-risk treatment to higher-risk treatment. Allow 10-15 minutes between attempts so the finish can cool, and stop immediately if the surface becomes sticky, dull, darker, or visibly distorted.
Step 1: Clean and dry the tabletop
Remove dust with a soft microfiber cloth. If grease or food residue remains, use a barely damp cloth with a small amount of mild dish soap, then wipe with clean water and dry immediately.
Do not use furniture polish, ammonia, vinegar, or silicone spray before diagnosing the mark. Residue can change the finish’s response to heat and may prevent a repair product from bonding later.
You’ll know this step worked when: the mark has a clean outline and the cloth no longer picks up residue.
Common mistake: soaking the tabletop and creating a second moisture ring.
Step 2: Use a hairdryer first
Set a hairdryer to medium heat and medium airflow. Hold the nozzle 6-10 inches above the mark, keep it moving continuously, and sweep across the entire cloudy area for 30-60 seconds.
Pause for one minute, then inspect under angled light. Repeat for up to three cycles, with a total active heating time of about 3-5 minutes. Lightly buff with a dry microfiber cloth only after the surface cools.
A hairdryer gives the operator a wider, less concentrated heat field than an iron. That lowers the chance of creating a new glossy patch or melting a narrow line in lacquer, although excessive heat can still damage a finish.
You’ll know this step worked when: the white area becomes smaller or clearer without a change in sheen.
Common mistake: holding the dryer close enough to make the surface hot to the touch.
Step 3: Try a dry iron through cotton
Use this method only when the finish is smooth, stable, and not antique or visibly fragile. Empty the iron completely, disable steam, select the lowest useful heat setting, and place a clean, dry cotton cloth between the iron and tabletop.
Move the iron continuously over the cloth for 5-10 seconds. Lift the cloth, inspect the mark, and repeat in short passes if the finish remains unchanged. Never press the iron directly against the table, and never leave it stationary.
The iron concentrates heat more effectively than a hairdryer, so it can help with a broad, established ring. It also has a narrower safety margin: a hot iron can soften lacquer, imprint fabric texture, loosen veneer adhesive, or create a permanent scorch in seconds.
You’ll know this step worked when: the haze fades after cooling and the finish remains equally smooth.
Common mistake: adding water to the iron. Steam introduces more moisture and can intensify the clouding.
Step 4: Consider petroleum jelly for a faint mark
Apply a thin film of plain petroleum jelly to a small, light mark and leave it for 4-8 hours. Wipe it away with a clean cloth, then remove any oily residue with a barely damp cloth and dry the tabletop.
Mayonnaise is a similar household remedy, but its water, oil, egg, salt, and acid content makes it less predictable than plain petroleum jelly. Oil may improve the appearance by filling microscopic surface irregularities or changing the way light reflects; the claim that it consistently drives moisture out of a finish is not well established.
Do not use either product on unfinished wood, porous open-grain surfaces, or a tabletop that will receive a new coating immediately. Residual oil can interfere with refinishing.
You’ll know this step worked when: the mark looks clearer without a greasy halo.
Common mistake: leaving a thick oily layer overnight on a porous or matte surface.
Step 5: Use a mild abrasive only as a last DIY option
Toothpaste and baking soda can remove a cloudy surface layer, but they do so by abrasion rather than by extracting moisture. If used at all, choose plain white non-gel toothpaste, mix a small amount with baking soda, and test for 30 seconds in a hidden area.
Rub very lightly with the grain using a soft cotton cloth. Limit the working area to the mark, stop after 30-60 seconds, wipe the residue away with a barely damp cloth, and dry immediately. Do not use this method on high-gloss lacquer, thin veneer, shellac antiques, or any finish that already feels thin.
A professional polishing compound designed for furniture is usually more controllable than kitchen ingredients. Abrasive particles can reduce gloss around the mark, creating a larger visible repair than the original ring.
You’ll know this step worked when: the haze reduces without a lighter or duller patch around it.
Common mistake: scrubbing until the mark disappears, which may remove the finish itself.
Which Removal Method Is Best for Your Table?
The best removal method depends on the mark’s age, the finish condition, and the table’s value. For an ordinary modern table, begin with a hairdryer; for a valuable antique, skip household experiments and consult a furniture conservator.
| Method | Typical USD cost | Active time | Best use | Main risk |
|---|---|---|---|---|
| Hairdryer | $0 if owned | 3-10 minutes | Recent white haze on stable finish | Localized overheating |
| Dry iron and cotton cloth | $0-$10 | 2-8 minutes | Broad, stubborn ring on modern finish | Melted coating or veneer damage |
| Petroleum jelly | $3-$8 | 4-8 hours | Faint, small mark | Oily residue and uneven sheen |
| Furniture polishing compound | $8-$25 | 10-20 minutes | Light surface clouding or micro-abrasion | Reduced gloss |
| Lacquer blush remover | $12-$30 | 5-15 minutes | Confirmed lacquer blush | Over-softened or dissolved finish |
| Professional spot repair | $75-$300 | 1-3 hours | Valuable, complex, or failed repair | Higher service cost |
Which finish changes the repair decision?
Lacquer and shellac can respond quickly to controlled solvents or heat because later coats may partially dissolve into earlier coats. Polyurethane is more chemically resistant and usually does not reflow as readily, so a lacquer blush remover is not automatically appropriate for a polyurethane tabletop.
Hardwax oil and penetrating oil finishes do not behave like a thick clear film. A white area may be surface residue, raised grain, moisture damage, or a worn section that needs cleaning and re-oiling rather than heat.
| Finish or coating | Typical appearance | Heat tolerance | Preferred first action | Avoid |
|---|---|---|---|---|
| Nitrocellulose lacquer | Glossy, thin, repairable by reflow | Low to moderate | Hairdryer, then tested lacquer product | High heat and prolonged solvent exposure |
| Shellac | Warm gloss, common on antiques | Low | Conservator assessment | Iron, baking soda, alcohol |
| Water-based polyurethane | Clear, satin to gloss | Moderate | Hairdryer and finish-safe cleaner | Solvent blush remover without identification |
| Oil-based polyurethane | Amber, durable film | Moderate to high | Gentle heat, then professional polish | Aggressive sanding through film |
| Hardwax oil | Natural, low to satin sheen | Moderate | Clean, dry, re-oil if appropriate | Treating it like lacquer |
| Melamine laminate | Printed or solid manufactured surface | Variable | Manufacturer-approved cleaner | Iron or abrasive paste |
Is a commercial ring remover worth the cost?
A commercial ring remover is worth considering when the finish is modern, the mark is localized, and a hidden-spot test confirms compatibility. A product labeled for lacquer blush or furniture water rings is more appropriate than a general household cleaner.
Read the label for ventilation requirements, gloves, drying time, and finish exclusions. Do not combine a blush remover with an iron, hairdryer, wax, or oil. Chemical softening followed by heat can create a permanently uneven film.
What Should You Avoid When Removing a White Ring?
Avoid steam, direct contact between hot tools and wood, strong solvents, coarse abrasives, and aggressive scrubbing. These actions can turn a reversible finish haze into a stripped, glossy, burned, or patchy repair.
- Do not use a steam iron. Steam adds moisture while the finish is warm.
- Do not hold heat in one place. Keep an iron or dryer moving across the entire mark.
- Do not start with a heat gun. Even its lowest setting can exceed the tolerance of thin lacquer and veneer adhesive.
- Do not use acetone, nail-polish remover, or paint thinner. These solvents can dissolve or wrinkle clear coats.
- Do not sand immediately. Sanding through a clear finish can expose a lighter or darker layer and enlarge the repair.
- Do not rub across the grain with abrasive paste. Cross-grain scratches remain visible after the clouding is gone.
- Do not apply wax over a wet or soft surface. Wax can trap residue and complicate later refinishing.
One practitioner rule matters most: a repair should become less visible after each controlled attempt. If the repaired area becomes shinier, duller, tackier, or larger, reverse course and stop.
Why Did the Repair Fail?
A failed repair usually means the mark is not simple surface blush, the finish has already degraded, or the treatment was incompatible with the coating. Further heat rarely solves a chemically damaged or physically lifted finish.
| Failure symptom | Likely explanation | Recovery action | DIY limit |
|---|---|---|---|
| No change after three hairdryer cycles | Deep finish damage or non-moisture mark | Identify finish and test product | Stop heating |
| Glossy halo around ring | Abrasion or localized reflow | Professional polish or finish blending | Do not abrade wider |
| Sticky or wrinkled area | Finish softened or solvent attacked coating | Leave untouched until fully cured | No wiping with solvent |
| Darker center after heating | Scorching or accelerated discoloration | Stop immediately | Refinishing assessment |
| Veneer edge lifting | Heat or moisture reached adhesive | Keep flat and dry | Furniture repair professional |
| Mark returns after drying | Active moisture below coating | Find leak or damp object source | Do not seal over it |
When does a white mark require refinishing?
Refinishing becomes appropriate when the clear coat is blistered, deeply scratched, chemically dissolved, discolored through its full thickness, or separated from the substrate. Refinishing may involve stripping or abrading the old coating, repairing the wood or veneer, recoloring, and applying a compatible topcoat.
Black staining can require localized bleaching or wood replacement before a finish is applied. That is a different repair from removing a white ring. A professional may also use a finish amalgamator, French polishing, or color-matched lacquer repair, depending on the coating.
Antique tables deserve special caution. The Smithsonian’s furniture-conservation approach emphasizes preserving original material, and that principle makes household abrasives and heat inappropriate for valuable shellac or varnished furniture. A conservator can identify the coating with small solvent tests that should not be improvised on a valuable surface.
How Much Does Repair Cost in the United States?
DIY treatment typically costs $0-$30, while a professional spot repair commonly costs $75-$300 in the United States. Full tabletop refinishing often costs approximately $300-$1,200 or more, depending on size, finish, veneer repairs, transport, and local labor rates.
These are typical consumer ranges, not fixed quotes. A dining table with a removable top and common polyurethane finish usually costs less to repair than a large antique with veneer lifting and color matching.
| Repair situation | Typical materials or service | Typical USD range | Typical duration |
|---|---|---|---|
| Hairdryer treatment | Existing household tool | $0 | 10-20 minutes |
| Household spot treatment | Petroleum jelly or cotton cloth | $3-$10 | 4-8 hours |
| Commercial finish product | Ring remover or blush product | $12-$30 | 15-60 minutes |
| Local furniture technician | Spot blending or finish repair | $75-$300 | 1-3 hours |
| Full tabletop refinishing | Labor, stripping, sanding, coating | $300-$1,200+ | 2-7 days |
How Can You Prevent White Heat Marks?
Prevent white heat marks by separating hot, wet, and unfinished objects from the clear coat. Use a trivet or insulated pad under serving dishes, coasters under cold drinks, and a washable barrier under appliances that generate heat.
Felt-backed table pads provide more reliable protection than thin decorative placemats because they spread pressure and slow heat transfer. Avoid placing a hot pan, pizza stone, slow cooker, or electric kettle directly on wood, even when the object feels only warm.
Clean spills promptly with a dry or barely damp cloth. Do not allow condensation to sit beneath a rubber-backed mat, because trapped moisture can cloud finishes even without a hot object.
| Prevention item | Typical protection use | Typical replacement interval | USA price range |
|---|---|---|---|
| Cork or silicone trivet | Hot dishes and serving bowls | 2-5 years | $5-$25 |
| Coaster with absorbent insert | Cold drinks and condensation | 1-3 years | $3-$15 |
| Felt-backed table pad | Daily dining and craft use | 5-10 years | $80-$300 |
| Cotton table runner | Light heat and spill barrier | 1-4 years | $15-$60 |
| Hardwax or finish maintenance coat | Compatible oil-finished tables | Product-specific | $20-$60 |
A useful household rule is to wait until cookware is no longer steaming before placing it near an unprotected wood surface. Heat damage depends on temperature, contact time, moisture, coating age, and the object’s contact area, so no universal “safe” temperature applies to every table.
FAQ
Can a white heat mark disappear on its own?
A faint white mark can improve over several hours as the finish cools and residual moisture redistributes, especially when caused by a recently removed warm mug. Keep the area dry and uncovered during that period. If the mark remains unchanged after 24 hours, use controlled hairdryer heat rather than adding water or polish.
Can I use olive oil instead of mayonnaise?
Olive oil may temporarily darken or visually fill a cloudy area, but it can become sticky, oxidize, attract dust, and leave an uneven sheen. Plain petroleum jelly is easier to remove and contains fewer food ingredients, although neither oil treatment reliably repairs a damaged clear coat.
Will a magic eraser remove a white ring?
A melamine foam eraser can remove finish and create a dull patch, so it is a poor choice for white heat marks. Melamine foam acts as a fine abrasive rather than a moisture treatment. Use a clean microfiber cloth for residue, then follow the staged heat process.
Are white marks on veneer tables repairable?
White marks on veneer are often repairable when the veneer remains flat and the clear finish is intact. Veneer is thin, so sanding and concentrated heat have less margin for error than on solid wood. Stop if an edge lifts, a bubble appears, or the color changes.
How long should I leave mayonnaise on a wood table?
If you choose to test mayonnaise, leave a thin layer for 4-8 hours and remove it completely afterward. A longer application does not guarantee better results and may allow food oils and acids to remain in the finish. Petroleum jelly is generally the cleaner low-risk test.
Should I remove a white ring before selling the table?
Yes, but use only a reversible, finish-safe treatment before listing the table. Photograph the surface after cleaning and disclose any remaining damage rather than hiding it with dark polish or wax. A visible but accurately described finish flaw is safer than a large, mismatched refinishing patch.
The Bottom Line
White heat marks on a wood table are usually finish clouding, not burned wood, and many recent marks can be removed without stripping the tabletop. Begin with a clean, dry surface and a moving hairdryer, test before using an iron or abrasive, and stop when the finish changes. For antique furniture, veneer lifting, bubbling, black discoloration, or failed repairs, use a furniture conservator or repair technician instead of escalating household methods.