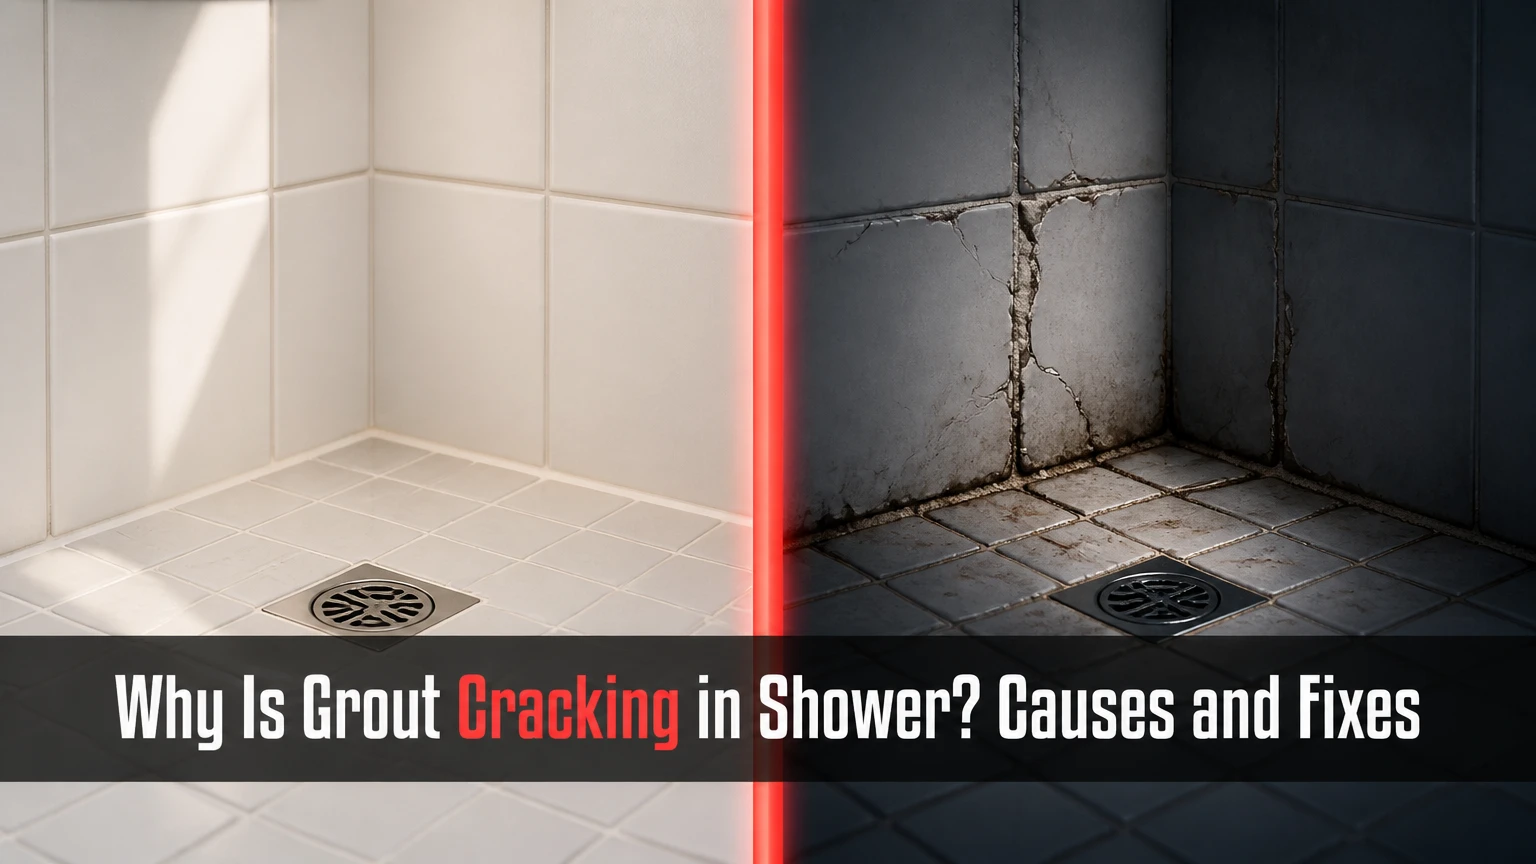
Why Is Grout Cracking in Shower? Causes and Fixes
Shower grout cracks because the tile assembly moves, the grout was mixed or cured incorrectly, or water has weakened the substrate behind the tile. Rigid cement grout cannot absorb movement at corners, changes of plane, flexible walls, or deflecting floors, so the crack pattern usually identifies the underlying failure.
Key Facts at a Glance
- Cracked grout at a shower corner usually indicates the joint needs 100% silicone sealant, not more rigid grout.
- Cementitious grout is porous and requires the waterproofing system behind the tile to control shower water.
- A soft, powdery grout line commonly results from excess mixing water, over-washing, freezing, or premature exposure to water.
- Regrouting repairs the joint surface, but it cannot correct a moving substrate, failed waterproofing membrane, or loose tile.
- Epoxy grout resists water and stains better than cement grout, but epoxy grout is not a substitute for a shower pan or waterproof membrane.
- Typical USA repair pricing is $150-$400 for localized DIY or handyman work and $500-$1,200 for extensive professional regrouting.
Why Is Grout Cracking in Shower Areas?
The most common cause is movement between adjacent materials. Tile, mortar, backer board, framing, and the shower pan expand, contract, or flex at different rates, while ordinary cement grout cures into a rigid joint that has limited tensile strength.
A second cause is weak grout. Excess water in the mix increases shrinkage and leaves capillary voids after evaporation. A saturated sponge can remove cement from the joint surface during cleanup, creating a line that looks finished but crumbles under light scratching.
A third cause is movement or deterioration behind the tile. A shower wall built over an inadequately supported backer board can flex when pressed. A wood-framed floor can deflect under load. A leaking valve, pan, curb, or drain can wet wood or degrade an adhesive bond, allowing the tile to move and break the grout.
Where the crack appears matters
Cracking along a vertical inside corner points toward a missing movement joint. Cracking across the middle of a wall points more toward substrate flexure, tile movement, shrinkage, or installation defects. Cracking around a drain, curb, or shower threshold raises the possibility of pan movement or waterproofing trouble.
The Tile Council of North America’s movement-joint guidance is commonly summarized as, “Changes in plane and direction should be treated with a sealant.” That rule explains why grout repeatedly fails where a wall meets a wall, a wall meets a floor, or tile meets a dissimilar material.
How Does Cracked Shower Grout Develop?
Shower grout failure usually begins with small movement or curing weakness, then progresses as water enters the damaged joint and the tile assembly moves further.
- The substrate flexes or settles. Framing, a shower pan, cement board, or membrane shifts slightly under building movement, temperature change, or foot traffic.
- The grout develops a hairline fracture. Tensile stress concentrates at the narrowest or weakest part of the joint.
- Water enters the damaged surface. Repeated wetting and drying carries moisture toward the mortar bed and backer system.
- The tile bond or substrate weakens. Wood can swell, gypsum-based materials can deteriorate, and poorly bonded tile can rock.
- The joint widens and loses material. The tile edges move against one another, crushing grout until pieces flake or fall out.
Grout is not the shower’s primary waterproofing layer. The waterproofing membrane, shower pan, properly treated seams, and compatible drain connection perform that job. A crack is therefore a warning to inspect the assembly, even though a single stable hairline crack does not prove that the shower leaks.
Which Grout or Sealant Belongs in a Shower?
The correct material depends first on joint location and width, then on tile type, exposure, maintenance expectations, and installer skill. Use grout between tiles on the same plane, and use a flexible sealant at movement joints and changes of plane.
| Material | Typical joint range | Water behavior | Best USA use | Main limitation |
|---|---|---|---|---|
| Unsanded cement grout | 1/16-1/8 inch | Absorbs water; sealer required | Narrow wall joints and scratch-sensitive stone | Shrinks in wider joints |
| Sanded cement grout | 1/8-1/2 inch | Absorbs water; sealer usually required | Ceramic or porcelain floors and wide joints | Rigid under movement |
| High-performance cement grout | 1/16-3/4 inch, product-specific | Lower absorption after cure; label controls sealing | Busy residential showers and varied joint widths | Still not a movement sealant |
| Epoxy grout | Product-specific, commonly 1/16-1/2 inch | Highly water and stain resistant | Shower floors, niches, and demanding maintenance areas | Costly, fast working time, difficult cleanup |
| Acrylic or urethane grout | Product-specific | Low absorption; many do not need sealing | DIY repairs and color consistency | Some products soften with early water exposure |
| 100% silicone sealant | Commonly 1/8-1/4 inch joint | Waterproof after cure | Corners, wall-to-floor joints, curb transitions | Requires correct joint preparation and replacement |
The AI Overview’s description of epoxy grout as “permanently flexible” is inaccurate. Epoxy grout has better bond strength and chemical resistance than cement grout, but it still cures as a relatively rigid joint. A flexible joint requires a sealant designed for movement, usually 100% silicone in a shower.
Sanded versus unsanded grout
Choose unsanded grout when the joint is narrow or the tile surface could scratch, but follow the grout manufacturer’s actual width range because product formulations differ. Choose sanded grout for wider joints where the aggregate reduces shrinkage and improves dimensional stability.
Do not force unsanded grout into a wide joint because it may shrink, crack, or pull away from the tile edges. Do not use sanded grout on a polished stone surface without confirming scratch resistance through a test area.
Is epoxy grout the best repair for every shower?
Epoxy grout is a strong choice for staining, frequent cleaning, and high-use shower floors, but it is not automatically the best repair. It cannot stabilize loose tile, bridge a moving corner, or repair a failed waterproofing membrane.
Epoxy grout also demands disciplined installation. Typical working time may be 30-60 minutes, depending on product and temperature, and residue can permanently haze some textured or porous tile if cleanup is delayed. A high-performance cement grout is often more practical for a first-time wall repair.
How Can You Diagnose the Crack Before Repairing It?
Diagnosis starts with location, width, soundness, and moisture evidence. Photograph the crack dry, press each nearby tile with a fingertip, and mark whether the line changes after the shower dries.
| Observed condition | Likely cause | Immediate test | Correct response |
|---|---|---|---|
| Vertical line in an inside corner | Missing movement joint | Check whether grout occupies the full corner | Remove grout; install color-matched 100% silicone |
| Horizontal line at wall-to-floor transition | Change of plane or pan movement | Inspect perimeter and curb joints | Replace rigid grout with silicone; inspect pan if movement continues |
| Crack through a flat wall joint | Wall flex, poor bond, or curing defect | Tap tiles; compare hollow sounds and tile movement | Investigate substrate; regrout only if tiles are solid |
| Powder that scratches off easily | Excess water or over-washing | Scrape with a fingernail or grout saw | Remove weak grout and install correctly mixed replacement |
| Repeated crack near drain | Drain flange, pan, or tile movement | Check drain grate and adjacent tile for movement | Have a tile or waterproofing professional inspect |
| Missing grout beside a curb | Curb movement or failed transition seal | Inspect curb top, ends, and outside face | Stop using the shower if leakage appears; investigate waterproofing |
| Crack with loose tiles | Bond failure or wet substrate | Press tile corners and listen for hollow areas | Remove affected tile and assess the backing system |
A grout crack that returns within weeks of a proper repair is evidence against a cosmetic-only fix. Repeated failure usually means the joint is moving, the tile is loose, or water is reaching a vulnerable substrate.
Can Cracked Grout Cause a Shower Leak?
Cracked grout can permit localized water entry, but grout itself is not the only or primary waterproof barrier in a correctly built shower. The risk becomes significant when cracks accompany loose tile, missing sealant, soft walls, staining outside the shower, musty odors, or water appearing below the bathroom.
Stop cosmetic repairs and investigate the assembly when any of these conditions occur:
- A ceiling below the shower develops a brown ring, bubbling paint, or dampness.
- The baseboard outside the shower swells or the flooring changes color.
- The wall feels soft when pressed near a valve, niche, curb, or corner.
- The shower pan holds water, moves underfoot, or produces a new creaking sound.
- Grout disappears repeatedly from the same area.
- Mold or persistent odor appears behind trim or on an adjacent wall.
A stable crack in a surface joint does not automatically require a full demolition. The correct decision depends on whether the tile is stable and whether the waterproofing system remains intact.
How Do You Repair Cracked Shower Grout?
Repair cracked shower grout only after confirming that the surrounding tile is firmly bonded and the crack is not a change-of-plane joint. A localized repair commonly takes 2-4 hours of labor plus 24-72 hours of cure time, while a full shower can require one to two days.
Before You Start
| Requirement | Typical USA specification |
|---|---|
| Tools | Grout saw, utility knife, vacuum, margin trowel, sponge, caulk tool |
| Materials | Matching grout, clean water, 100% silicone, painter’s tape |
| Joint removal depth | At least 2/3 of the existing grout depth |
| Surface condition | Dry, clean, firm, and free of soap residue |
| Shower downtime | 24-72 hours, according to the product label |
| Difficulty | Moderate for a flat joint; advanced for corners, niches, and floors |
Step 1: Determine whether grout or silicone belongs in the joint
Remove rigid grout from inside corners, wall-to-floor transitions, curb changes, and other joints between dissimilar planes. Use a bathroom-rated 100% silicone sealant that matches the tile grout color.
Success checkpoint: The joint follows a clean, continuous line without hard grout bridges between the two planes.
Common mistake: Applying silicone over loose, damp, moldy, or deeply recessed grout. Sealant needs clean, sound edges.
Step 2: Remove the failed material
Score the joint with a grout saw or oscillating tool, keeping the blade centered so tile edges are not chipped. Remove loose material to approximately two-thirds of the joint depth, then vacuum dust and wipe residue with a barely damp sponge.
Success checkpoint: No powder, flakes, or detached pieces remain when the joint is brushed.
Common mistake: Removing only the visible surface crack. A thin cosmetic patch often separates from the weak grout below.
Step 3: Check the tile and backing
Press each adjacent tile at its corners. A tile that shifts, clicks, or sounds hollow across most of its area needs further investigation before regrouting.
Success checkpoint: Tile faces remain stationary under firm fingertip pressure, and no dampness or soft backing is visible.
Common mistake: Regrouting a loose tile. New grout will crack because the underlying movement remains.
Step 4: Mix or prepare the replacement grout
Measure powder and water precisely according to the manufacturer’s instructions. Mix only the quantity usable within the product’s working time, then allow the specified slake period, remix without adding water, and discard material after it begins to stiffen.
Success checkpoint: The grout has a consistent, toothpaste-like texture without free water or dry pockets.
Common mistake: Adding water to revive setting grout. That changes the chemistry and weakens the cured joint.
Step 5: Pack the joint fully
Force grout diagonally across the joint with a rubber float, filling the entire depth and eliminating air pockets. Remove excess from the tile face while the grout remains workable.
Success checkpoint: The joint has a continuous surface with no pinholes, low spots, or visible tile-edge gaps.
Common mistake: Leaving a shallow skim coat over deep voids. The new layer may detach during cleaning or movement.
Step 6: Clean with a controlled sponge
Use a damp, well-wrung sponge and make two or three passes, rotating to a clean face each time. Avoid flooding the joint or repeatedly scrubbing the same area.
Success checkpoint: Tile faces are clean while the grout line remains full and firm.
Common mistake: Washing with a dripping sponge. Excess water can pull binder from the surface and create powdery grout.
Step 7: Cure the joint and seal where required
Protect the repair from shower water for the full label period. Cement grout commonly needs 48-72 hours before regular shower use; many epoxy products allow earlier exposure, but the product label controls.
Apply penetrating sealer only when the grout manufacturer requires or permits it. Sealer reduces absorption and staining, but it does not make cement grout waterproof or flexible.
Success checkpoint: The grout is hard, uniform, and not darkening unevenly after the stated cure period.
Common mistake: Testing the shower after one night because the surface feels dry. The interior may still be curing.
What Does Shower Grout Repair Cost in the USA?
Typical USA pricing ranges from $150-$400 for a small localized repair, $500-$1,200 for professional regrouting of a standard shower, and substantially more when tile removal or waterproofing reconstruction is necessary. Local labor rates, access, tile size, joint condition, and disposal requirements drive the final estimate.
| Repair scope | Typical labor time | Typical USA price | Usually includes |
|---|---|---|---|
| One corner or 10-20 linear feet | 1-3 hours | $150-$300 | Removal and silicone replacement |
| Several wall joints | 4-8 hours | $300-$700 | Selective grout removal and regrouting |
| Standard shower regrout | 1-2 days | $500-$1,200 | Most accessible grout lines and corners |
| Epoxy regrout | 1-2 days | $700-$1,500 | Specialized installation and rapid cleanup |
| Loose tile replacement | 3-8 hours | $300-$900 | Tile removal, reset, and grout repair |
| Waterproofing or pan reconstruction | 3-7 days | $2,500-$8,000+ | Demolition, membrane or pan work, retile |
Material costs are relatively small compared with labor. A cementitious grout package commonly costs $15-$40, epoxy units often cost $60-$120, and color-matched silicone commonly costs $12-$25 per tube in USA retail channels.
Which Problems Need More Than Regrouting?
Regrouting is unsuitable when the cause is structural, concealed, or connected to active water damage. A professional should assess the shower when cracks recur, tiles move, or water appears beyond the wet area.
Floor deflection
The L/360 criterion is a common ceramic-tile floor design benchmark, while natural stone installations often require L/720. The figures describe allowable joist deflection over a span, not a universal pass-fail test for every shower wall or prefabricated pan.
A shower floor that flexes under a person can crack grout even when the joists meet a general tile criterion. The pan, mortar bed, subfloor, and tile underlayment must work as one supported system.
Inadequate backer-board waterproofing
Cement backer board is not automatically waterproof. Some panels resist water without stopping water transmission, so seams, fasteners, corners, and the pan connection still require the method specified by the waterproofing manufacturer.
Tile installed over ordinary drywall in a wet shower is a high-risk condition. Surface grout sealer cannot correct a missing waterproof membrane behind that tile.
Seasonal or building movement
New construction, framing shrinkage, foundation movement, and temperature changes can open joints. A narrow seasonal crack at a correctly placed movement joint may need renewed sealant, whereas a growing diagonal crack across tile can indicate broader movement.
How Can You Prevent Shower Grout From Cracking Again?
Prevent recurrence by controlling movement, water, joint design, and curing conditions rather than choosing a harder grout alone.
- Use movement joints at changes of plane. Leave corners and wall-to-floor transitions for flexible sealant.
- Follow the grout’s joint-width range. Match sanded or unsanded formulation to the product label, not a generic rule.
- Measure mixing water. A kitchen scale or marked container is more reliable than adding water by appearance.
- Support the tile substrate. Correct flexing backer board, inadequate subfloor support, and loose tile before finishing.
- Protect the cure. Keep the shower dry, maintain the label’s temperature range, and avoid fans that rapidly skin the surface while the interior remains wet.
- Use silicone at fixtures and dissimilar materials. Seal around penetrations, benches, curbs, and trim according to the waterproofing system.
- Maintain ventilation. Run the bathroom exhaust fan during the shower and for about 20-30 minutes afterward to reduce prolonged surface moisture.
A counterintuitive practitioner rule is that harder grout does not solve a moving joint. If a corner has failed twice, the better repair is usually correct joint geometry and silicone, not a stronger cement or epoxy product.
When Should You Hire a Professional?
Hire a tile or waterproofing professional when the shower has a leak, loose tiles, a moving pan, widespread cracking, soft substrate, or a failed curb. A professional can distinguish a joint repair from a membrane failure, although no surface inspection can certify concealed waterproofing without selective removal or testing.
DIY repair is reasonable for a stable, isolated crack on a flat wall when the tile is solid, the substrate is dry, and the replacement material matches the existing joint. Avoid DIY demolition around a shower drain, curb, niche, or valve if you cannot identify the waterproofing system.
| Situation | DIY suitability | Recommended action | Risk if misdiagnosed |
|---|---|---|---|
| One stable flat-wall crack | High | Remove and regrout | Cosmetic recurrence |
| Inside-corner crack | Moderate | Replace grout with silicone | Continued corner movement |
| Powdery grout across a wall | Moderate | Remove weak material and regrout | Hidden bond weakness |
| Loose floor tile | Low | Professional tile and substrate inspection | Pan or membrane damage |
| Leak below shower | Very low | Stop use and investigate promptly | Structural water damage |
| Cracked curb or niche | Low | Waterproofing specialist assessment | Concealed membrane failure |
FAQ
Should I seal cracked shower grout?
No, grout sealer does not repair a crack or stop movement. Remove unstable grout first, then install compatible replacement grout or 100% silicone at a movement joint. Penetrating sealer can reduce absorption in cured cement grout, but the shower membrane remains the primary waterproofing layer.
Why is new grout cracking in my shower?
New grout commonly cracks because the joint was too wide for the product, the mix contained excess water, the cleanup sponge removed binder, or the tile substrate moved before curing. If the crack appears in a corner, rigid grout was likely used where flexible silicone was required.
Can I caulk over cracked grout?
Caulk should not simply cover cracked grout. Remove the old grout from the joint, clean and dry both tile edges, then apply a bathroom-rated 100% silicone sealant at corners and other movement joints. Covering contaminated or loose grout traps defects and shortens sealant life.
How long should shower grout last?
Properly installed shower grout can remain serviceable for many years, but no fixed lifespan applies to every installation. Joint movement, cleaning chemicals, ventilation, substrate quality, and waterproofing determine durability. Repeated cracking within months indicates an unresolved installation or movement problem.
Is premixed grout better for shower repairs?
Premixed acrylic or urethane grout can simplify small repairs because the consistency and color are controlled, but product limits vary. Some formulations require longer curing and can soften if exposed to water too soon. Read the label, verify shower suitability, and never use premixed grout as a corner sealant.
Can cracked grout be a sign of foundation problems?
It can, but shower grout alone cannot diagnose foundation movement. Multiple diagonal cracks across walls, sticking doors, uneven floors, or cracks appearing throughout the house provide stronger evidence of structural movement. A recurring shower crack with no other symptoms more often involves joint design, substrate flex, or grout installation.
The Bottom Line
Why is grout cracking in shower installations? The cause is usually movement, weakly cured grout, or moisture-related substrate damage. Repair flat, stable joints with correctly selected grout, replace corner and transition grout with 100% silicone, and investigate loose tile or leaks before applying a cosmetic patch. A durable repair fixes the movement or waterproofing condition, not merely the visible crack.